Journey builder
 Updated
by Lorena
Updated
by Lorena
Along with the go-live of our new customer journeys, we launched a new tool in Studio called the Journey Builder. This guide explains how the tool works and what settings and configurations are available for admins, to configure their customer journeys with the help of the journey builder.
The new Journey Builder
How to access
The Journey Builder can be accessed by navigating to Studio → Customize → Journey Builder.
General
The journey builder allows the creation or customization of a customer booking journey for each unique parent company and all its underlying child locations.
When navigating to the builder, you will see the overview page with the button"Create New Booking Journey". Once drafts have been created they will be visible in the lower field of the screen, while the space on top is reserved for the "live" version of the journey.
Drafts allow one or multiple users to explore, compare and customize the booking journeys in a safe environment that is not live or visible to your customers. The preview that can be opened whilst editing the draft helps you to visualize and test your journey - it is not triggering a real booking. Only when you are fully happy with a draft, you can choose to publish it as the live version.
Managing and publishing drafts
- Create a new draft
- On the overview page of the builder, click on the 'Create New Booking Journey' button as shown below to create a new draft.
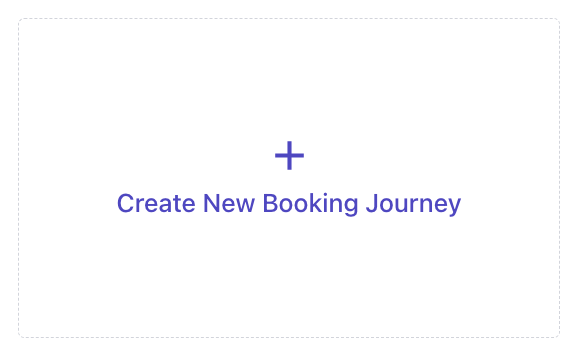
- Enter the name of the draft in the dialog box that appears.
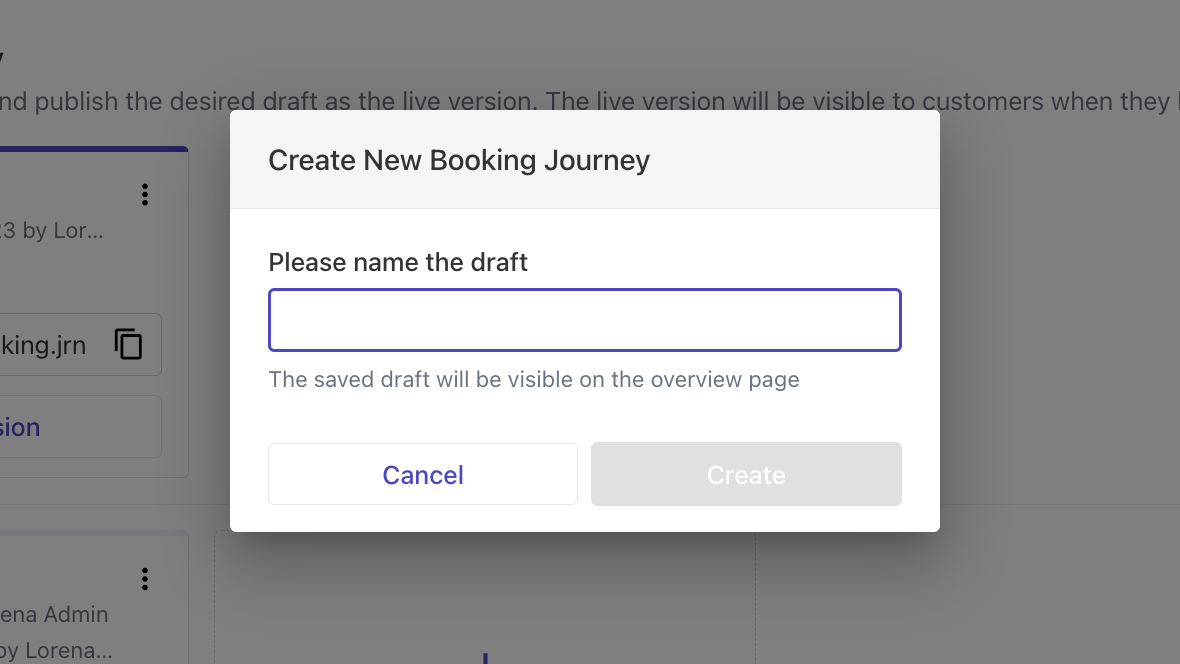
- Click on “Create”. The draft will be created and added to the overview page. Now, you can edit the draft to customize each booking step and choose helpful features to create the best booking experience for your customers.
- On the overview page of the builder, click on the 'Create New Booking Journey' button as shown below to create a new draft.
- Edit an existing draft
- On the overview page of the Builder, click on the 'Edit journey' button on the existing draft card you want to edit.

- You will then enter the builder interface as seen below. Here you can edit general settings, customize the progress bar, each booking step, and your custom text. Each section is also described in more detail in the other sections of this article.
- After editing, you can save your changes by clicking on the ‘Save’ button in the top right corner. Note: the editor won’t close after saving.
- You can exit the editor by clicking on ‘Exit’ in the top left. It will prompt you to save the changes.
- On the overview page of the Builder, click on the 'Edit journey' button on the existing draft card you want to edit.
- Delete a draft
- Click on the three-dots menu in the top right corner of the draft card to see the menu options. Click on ‘Delete’ to delete the draft.
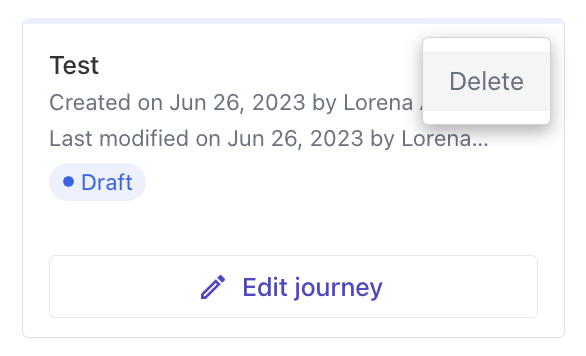
- A dialog box will prompt you to confirm you want to delete the draft. If done so, a notification message will appear on the screen to confirm the deletion was successful.
- Click on the three-dots menu in the top right corner of the draft card to see the menu options. Click on ‘Delete’ to delete the draft.
- Preview draft
The changes and customizations to the draft journey can be previewed as an interactive customer journey, using the ‘Preview’ button in the editor. Note: The draft will be saved automatically. In preview mode, you can browse through all booking steps until you reach the confirmation page. No real booking will be made and a flag in the top left corner indicates this is a preview-only url.
- Publish draft
The changes and customization to the draft journey can be published to the live version of production by clicking on the ‘Publish’ button in the editor. Note: The draft will be saved automatically.

General settings
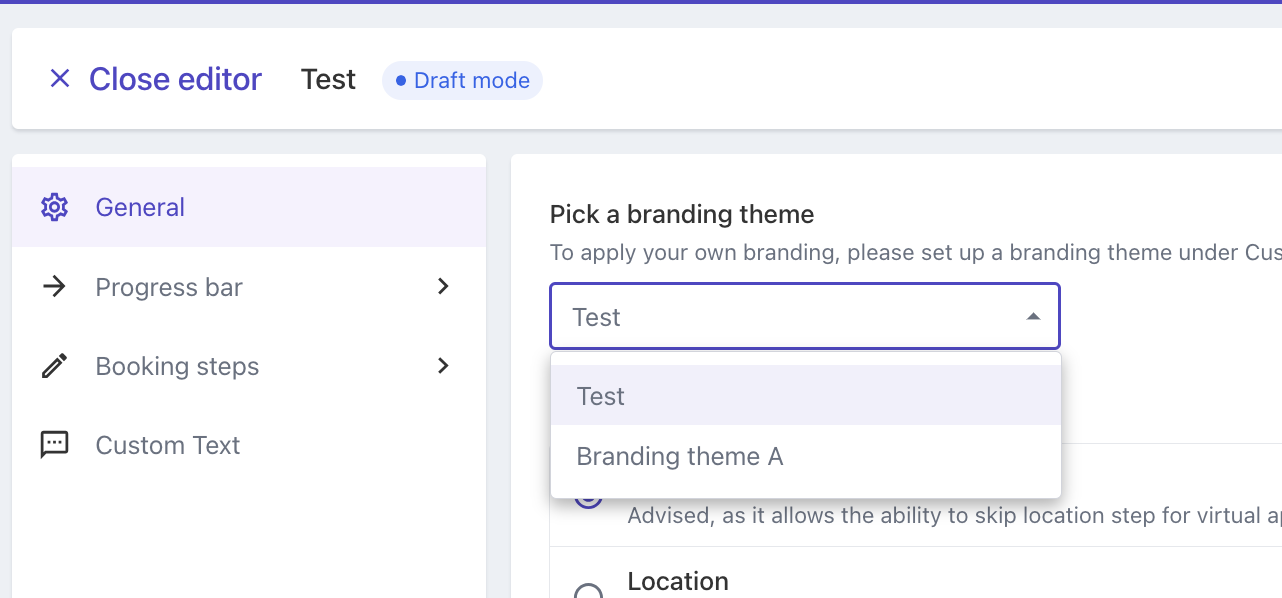
- Selecting a theme
The drop-down will list all the branding themes that were created at that parent using the Branding Theme Builder. Select the branding theme you want to apply for your draft journey from the drop-down. You can refer to the Branding Theme Builder article for more details.
- Selecting the first step of the journey
Here you can decide how you would like your booking journey to start - with the service selection or the location selection. Service-first journeys are advised, as they allow the ability to indicate the next available slots per location on the location step. Location-first journeys are only recommended if you offer exactly similar services across many locations. - Skipping of steps
If your company only offers only one service or is based at a single location, these settings allow you to skip those steps to shorten and streamline the booking journey. - Allow to select specific staff members
If enabled, this setting allows your customers to pick a preferred staff member on the calendar step. It shows their staff images and bios so that customers can easily pick their preferred staff, the information can be uploaded on the staff profile under Studio/Your Business/Staff.
You can further select if you also want to allow this feature on personal booking links.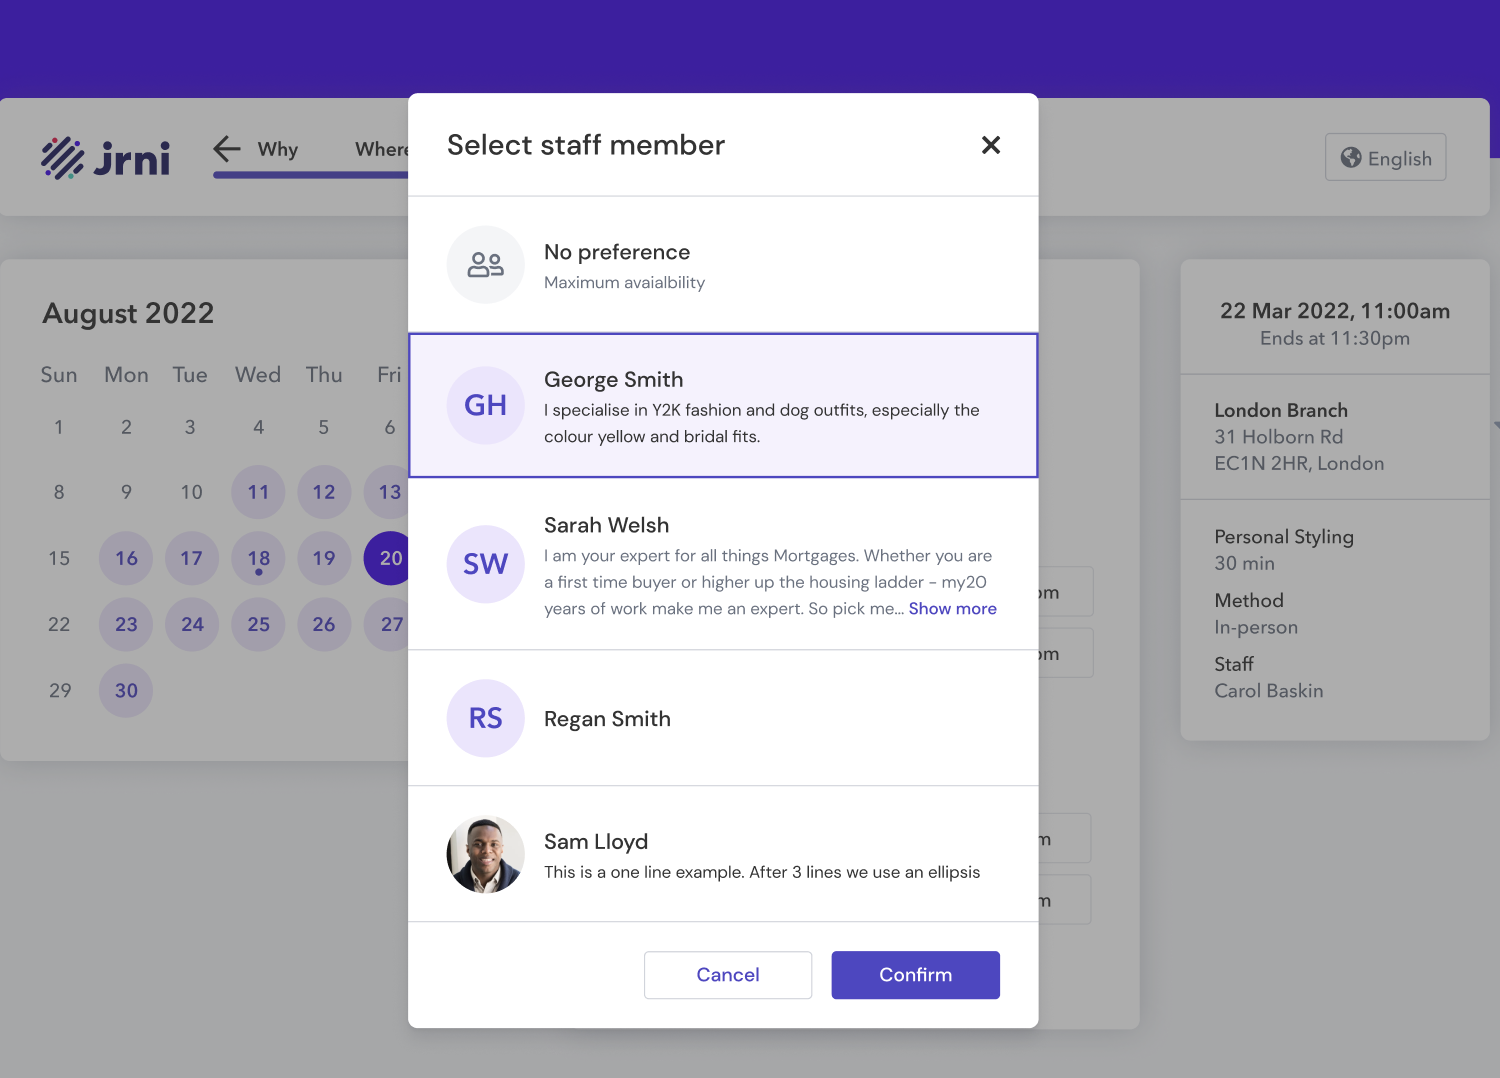
- Link Journeys to your Google Analytics tracking
Here you can add your GA4 code to collect data on your customer journey through the online booking process. More info on this can be found in this article. - Activating captcha
Under advanced settings, you can activate a captcha process for your journey. This will keep malicious software from engaging in abusive activities on your customer journeys, like bot bookings. If turned on, it will be visible at the bottom of the journey’s personal details step, before making the booking.
Please note that this feature is not turned on by default. Users with viewing impairments will still be able to book by filling in a details form. Though this is not as streamlined, accessibility is supported.
Progress Bar
All the customizations related to the progress bar can be configured in the ‘Progress bar’ section. We support two styles: numbered steps (eg. Step 1 of 5) or descriptive steps (eg. Where, what, when).
Booking Steps
- Service step
In this section, you can customize how the service step of your journeys should be shown. The in-app preview shows a simple example of the changes you are making, you can use the preview button to see how this would reflect in your own journey. The configurations currently supported for the service step are:- Display style of services - List view or Card view
- Show/hide categories
- Show/hide category images (only shown if the above setting of show/hide categories is turned on)
- Show/hide service images
- Location step
The configurations currently supported for the Location step are:- Show/hide Next Available Slots (only available for service first journeys)
- Show/hide Quickbook button (only available if Next Available Slots is turned on)
- Show/hide Additional location Info like location opening hours and phone number
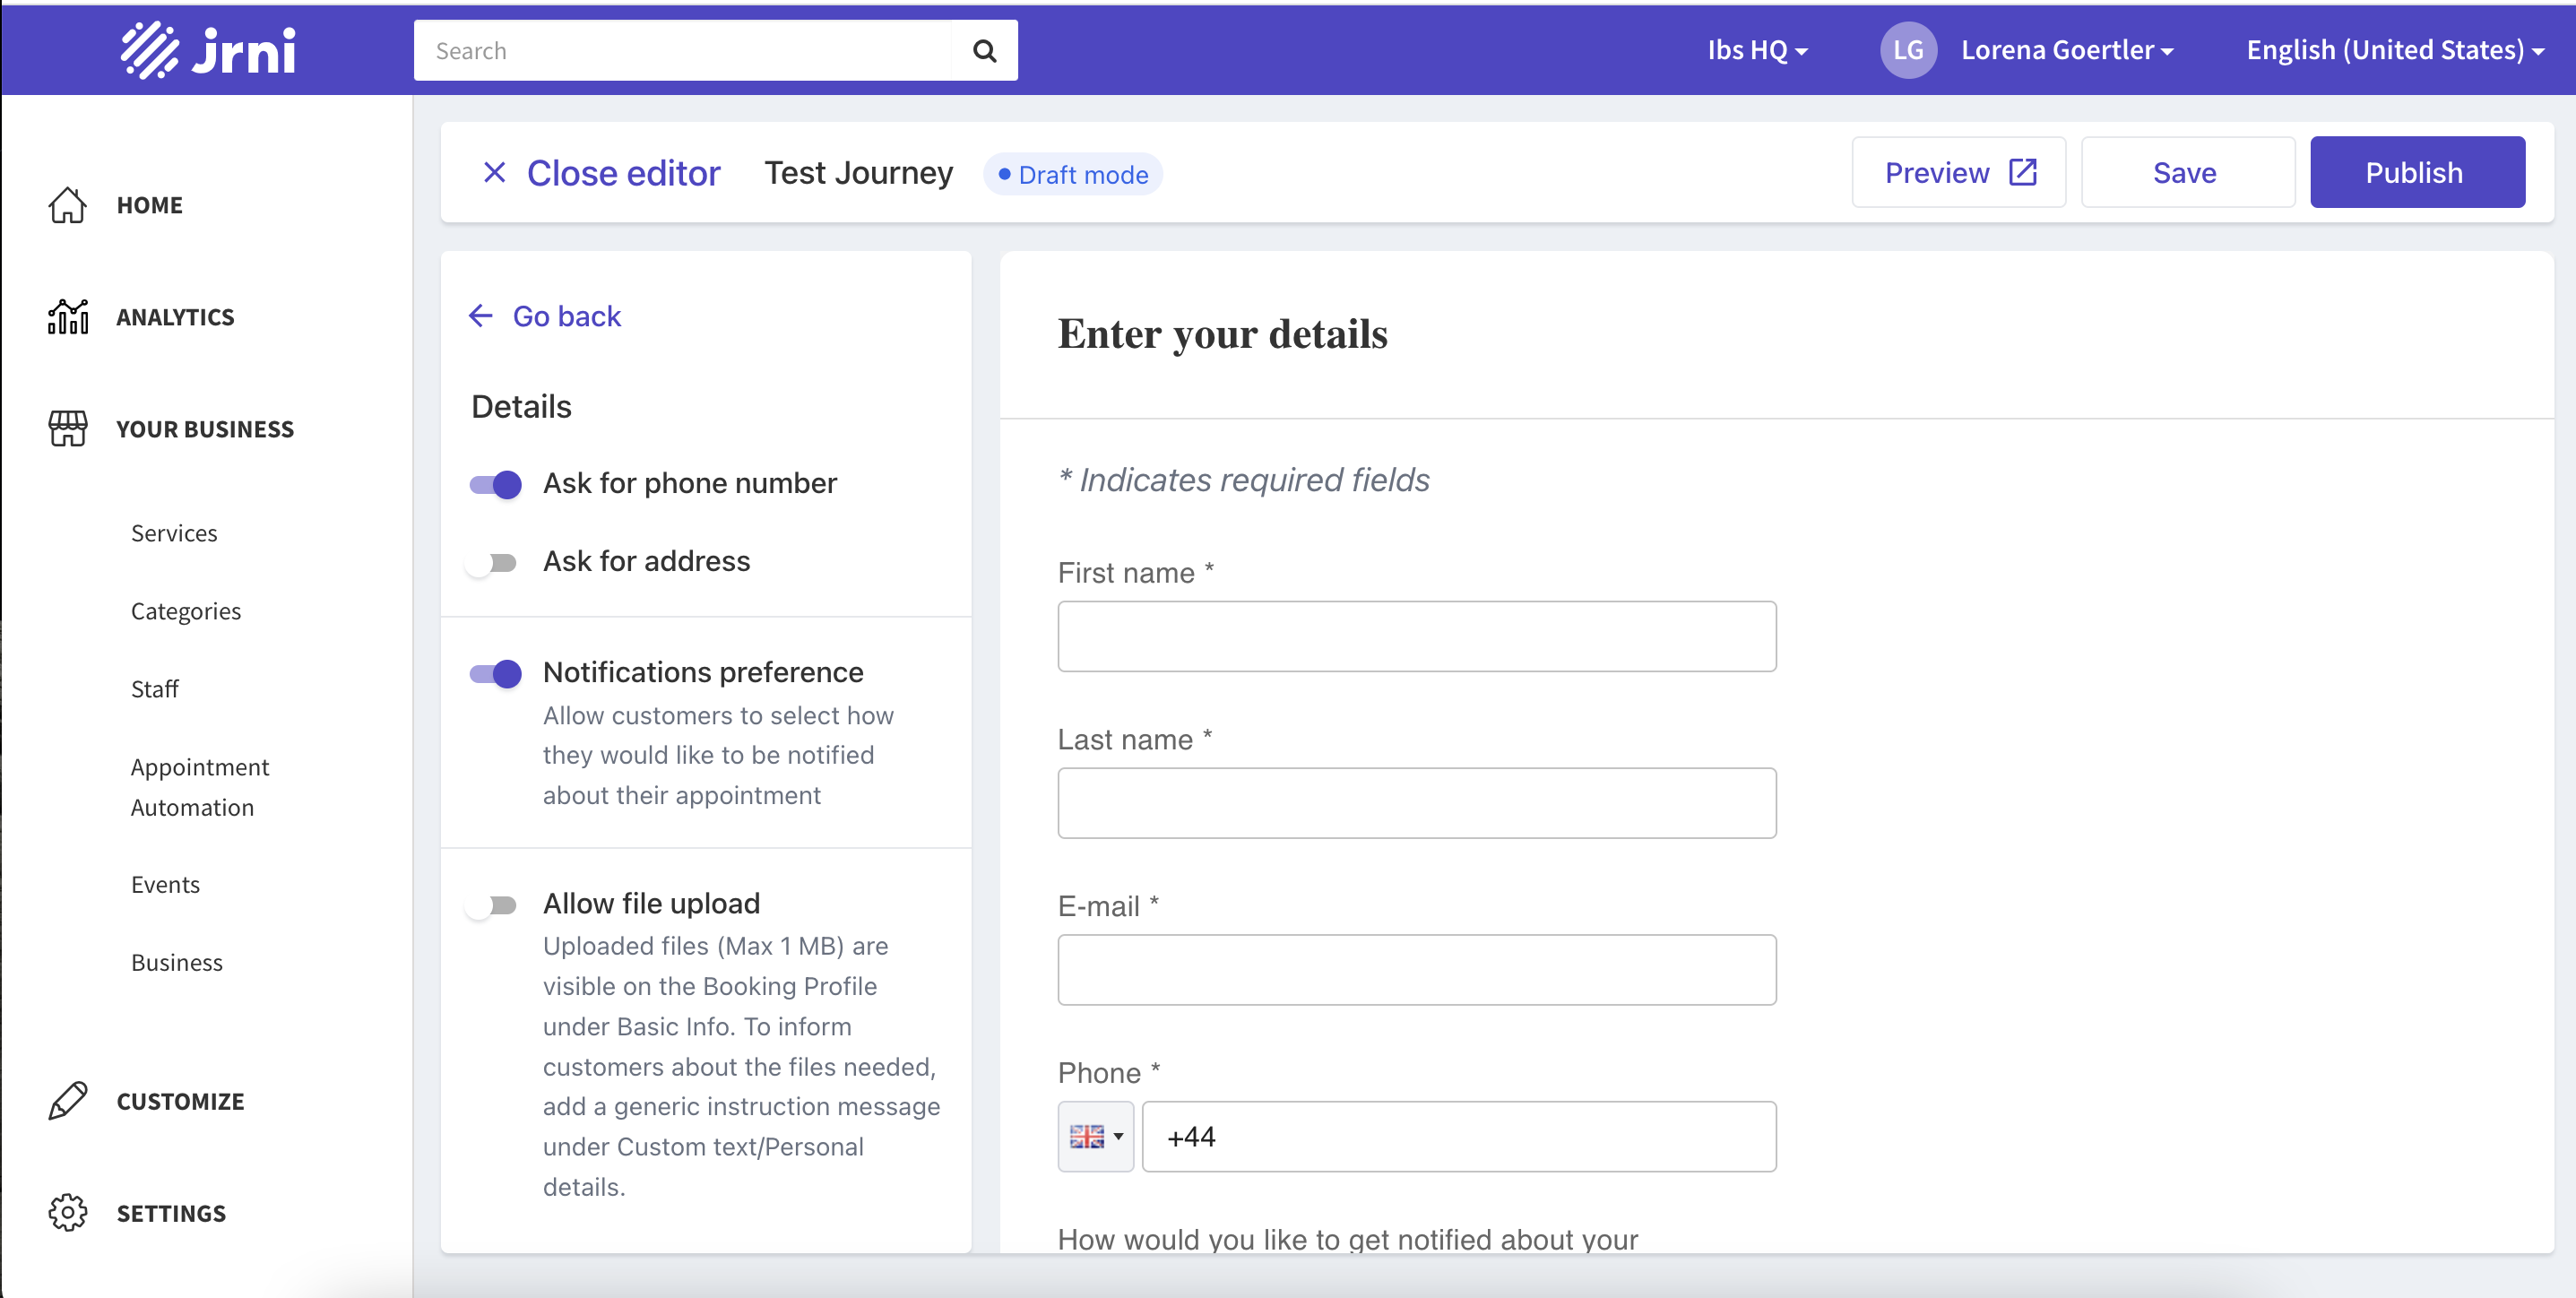
- Personal details step
The configurations currently supported for the Personal details step are:- Control the type of contact information you require from your customers (Phone/Email/Both)
- Show/Hide notification preferences (If enabled the customer can select their preferred channel of how they would like to be notified about their appointment)
- Allow file upload (If enabled a file upload field will appear on the personal details steps that allows the customer to upload a single 1 MB file. Please note: This feature will be further built out by us, currently the uploaded files can only be viewed in Classic. We recommend adding info about the type of document that needs to be uploaded on the service description)
Custom text
This section allows you to customize all text shown across the new customer journeys.
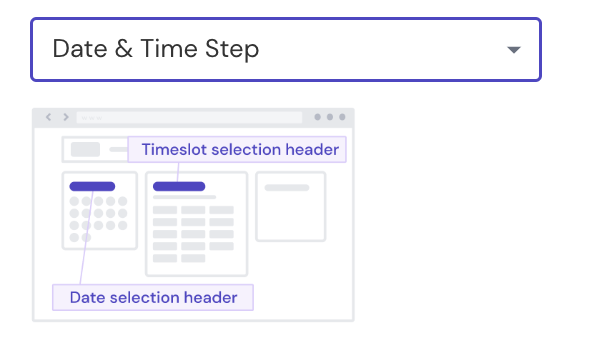
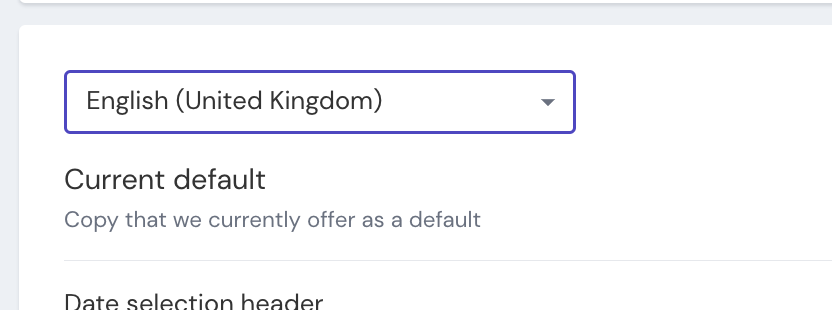
For each step of the customer journey (and the progress bar titles), you can add customized texts. The dropdown at the top of the screen lets you switch between the different sections that can be customized, showing a mockup to indicate where exactly the custom text would be displayed.
See our privacy policy <a href='https://www.jrni.com'target=_blank'> here </a>
The main section shows the text that is currently used as a default on the left, with the option to replace that text with new custom text on the right.
Appointment availability
The appointment availability that customers see is determined by two things:
- Staff schedules: Schedules are created and amended within Studio. If you would like more information on creating staff schedules, refer to the Creating and managing staff availability article.
- Time slots: The time slots that customers see (e.g., 9:20, 9:40; 10:00) are calculated based on your timestep settings, a service creation setting. More information can be found on this in the Creating and editing services article.
Notifications
Depending on the settings of your store/branch, upon confirmation customers may receive confirmation via SMS or email also. This helps the customer to keep a copy of their confirmation should they need it to remember the time, date and location.
Notification settings can be amended within Studio if you navigate to Settings > Basic Settings > Notifications.
Supported languages for the customer journeys
See the list of languages that we currently support for the new Customer Journeys below, new languages can be added upon request.
- English UK
- English US
- English HK
- English AU
- English China
- French France
- French Canada
Related articles
- The new Customer Journeys
- Branding Theme Builder
- Google Analytics for the new Customer Journey
- Creating and managing staff availability
- Creating and editing services
- Categories
Still have questions?
If you have any further questions about the new customer booking journey, please contact JRNI Customer Support, who will be happy to help.