Using JRNI
Appointments
Creating and managing bookings via Call Center
Personal Booking Links
Locating bookings and customers
Resolving conflicting shift patterns
Locations overview
Creating pre and post appointment questions
Changing the staff member or resource on an upcoming booking
Adding attendees to existing and upcoming bookings
Rescheduling and canceling bookings
Blocking out time on the calendar
Creating appointment bookings
Calendar overview
Parent and Child level overview
Using Check In for appointments
Staff
Editing and removing staff members
Configuring availability by method
Creating staff members
Creating and managing staff availability
Creating availability for multi-location staff
Services
Creating and editing Services
Service image requirments
Private services
Categories
Configuring the reservation workflow
Creating service schedules
Resources
Analytics
All Dashboards
Using the Capacity Dashboard
Using the Basic Dashboard
Using the Event Dashboard
Using the Conversion Dashboard
Using the HQ Dashboard
Using the Appointment Dashboard
Using the lead time dashboard
Insight Hub *New*
Creating dashboards
Creating Your First Dashboard - Format Tab Section Overview
Creating Your First Dashboard - Simple Steps
Creating Your First Dashboard - Interactive Elements Overview
Creating Your First Dashboard - Chart Components Overview
Creating Your First Dashboard - Data Tab Overview
Features
The new jrni Insight Hub
Analytics overview
Creating your own Reports
Google Analytics - New Customer Journeys
Setting up KPI targets and alerts
Drilling down into your data
Using Table Calculations
Filtering Dashboard and Report data
Creating and modifying a Dashboard
Sending, scheduling, and downloading Reports/Dashboards
Exploring the library of Dashboards and Reports
Booking journeys
Customer Journey's (Journey Builder)
Journey builder
Link Builder
Multi Service Journeys (Appointments)
How to use iframes
How to deeplink into booking journeys
Direct Links
Customer Journeys
Appointment automation
Queuing
Real-time Dashboard
Overview of the Concierge page
Setting up a virtual queue
Overview of JRNI Virtual Queuing
Setting up and managing a display board
Managing live queues via the Concierge page
How customers can join a live queue
Events
Events setup and config
Event journeys
Events Staff Experience
Events Bulk Import
*New* Event landing page builder
Branding
Business info
How to translate your content
Account Settings & Administration
Understanding user roles and permissions
How to reset or update your JRNI password
Creating and managing user access
Connectors & API
Calendar
Video
CRM
Salesforce
Guide to Salesforce Integration with JRNI
Add BookingBug updates to Chatter
Set up a booking journey in Salesforce
Manage user permissions and profiles
Use Studio inside Salesforce
Standard and Custom object mapping
Link JRNI staff to Salesforce users
Map customers, appointments and events
Set up the data sync
Integrating with Yext for JRNI Appointments
Release notes
Upcoming Release notes - 15th of July 2026
Release notes - 1st of July 2026
Release notes - 10th of June 2026
Release notes - April 2026
Release Notes - March 2026
(December - January 2026)
V8.21-V.8.21.2 (November 2025)
V.8.19-V.8.21 (October 2025)
V.8.17-V.8.18 (September 2025)
V8.15-V.8.16 (August 2025)
V.8.12 - V8.14 (July 2025)
V.8.11 (June 2025)
V8.10.1-V.8. (May 2025)
V8.10 - V8.11 (March 2025)
V8.8 - V.8.9 (February 2025)
V8.6 - V8.7 (January 2025)
V8.30 -V8.40 (November 2024)
V8.50 (December 2024)
V8.20 (October 2024)
V8.00-V8.10 (September 2024)
V7.55-V7.57 (August 2024)
V7.54 - V7.55 (July 2024)
V7.52-V7.53 (June 2024)
V7.49-V.51(May 2024)
V.7.47-V.7.48 (April 2024)
V.7.46 - V7.47 (March 2024)
V.7.45 (February 2024)
V7.42 - V.7.44 (January 2024)
V7.41.0 (Dec 14 2023)
V7.40.0 (December 11 2023)
V7.39.0 (December 1 2023)
V7.38.0 (November 20 2023)
V7.37.0 (Nov 7 2023)
V7.36.0 (Oct 30 2023)
V7.35.0 (Oct 18 2023)
V7.34.0 (Oct 13 2023)
V7.33.0 (Sep 28 2023)
V7.32.0 (Sep 28 2023)
V7.31.0 (Sep 20 2023)
V7.30.0 (Sep 20 2023)
V7.29.0 (Sep 7 2023)
V7.28.0 (Aug 29 2023)
V7.27.0 (Aug 29 2023)
V7.26.0 (Aug 20 2023)
V7.25.0 (Aug 9 2023)
V7.24.0 (Aug 9 2023)
V7.23.0 (July 31 2023)
V7.22.0 (July 24 2023)
V7.21.0 (July 18 2023)
V7.20.0 (July 5 2023)
V7.19.0 (June 29 2023)
V7.18.0 (June 26 2023)
V7.17.0 (June 14 2023)
V7.1.0 (March 6 2023)
V7.2.0 (March 8 2023)
V7.0.0 (February 9 2023)
V7.16.0 (June 8 2023)
V7.15.0 (June 1 2023)
V7.14.0 (June 7 2022)
V7.11.0 (April 24 2023)
V7.10.0 (April 20 2023)
V7.9.0 (April 12 2023)
V7.8.0 (April 5 2023)
V7.7.0 (March 30 2023)
V7.6.0 (March 29 2023)
V7.5.1 (March 20 2023)
V7.5.0 (March 16 2023)
V7.4.0 (March 11 2023)
V7.3.0 (March 9 2023)
- All Categories
- Using JRNI
- Events
- *New* Event landing page builder
*New* Event landing page builder
 Updated
by JRNI
Updated
by JRNI
In this guide, we introduce you to our new landing page builder and explain how staff can configure a unique landing page for an event.
The new landing page builder
How to access
The landing page builder can be accessed by navigating to Studio → Your Business → Events → Single Event→Select view or edit under "Actions"→"Landing page" tab.

General
The landing page builder for events is a powerful feature that allows you to create customizable pages for the events that you offer on our platform. With our user-friendly interface, you can effortlessly design a personalized landing page for your event, showcasing your brand in style. But that’s not all - we’re here to help you reach a wider audience. Easily promote your event through social media and various marketing channels, ensuring maximum exposure and attendance.
Creating a landing page
- Inside Studio, navigate to Your Business → Events → Single events → Select view or edit in the ‘Actions’ dropdown → Landing page tab
- Click on the "Build landing page" button. This will direct you to the landing page builder.
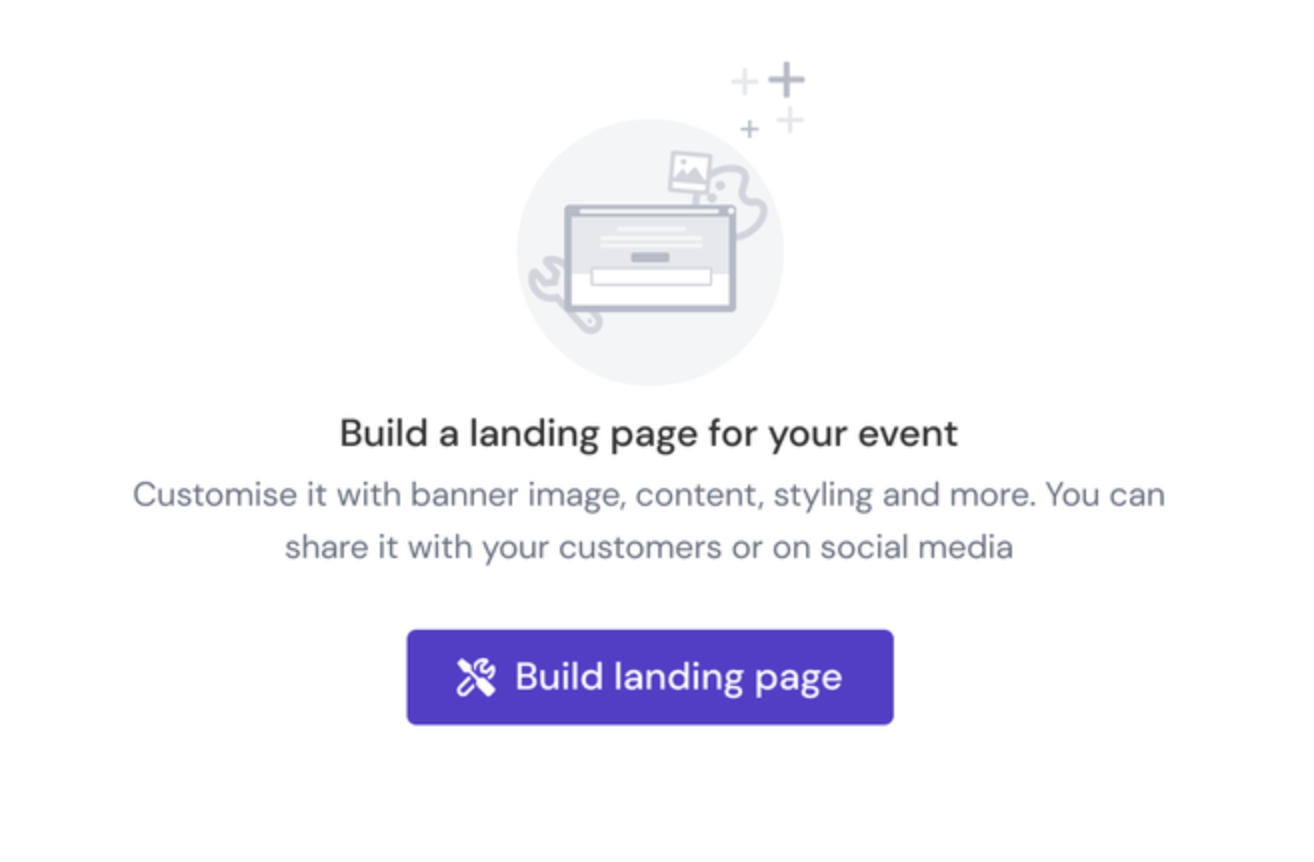
- This is where you can customize your landing page. Once you're ready, simply click 'Save' to create your landing page. You can then preview the landing page directly from the landing page tab.
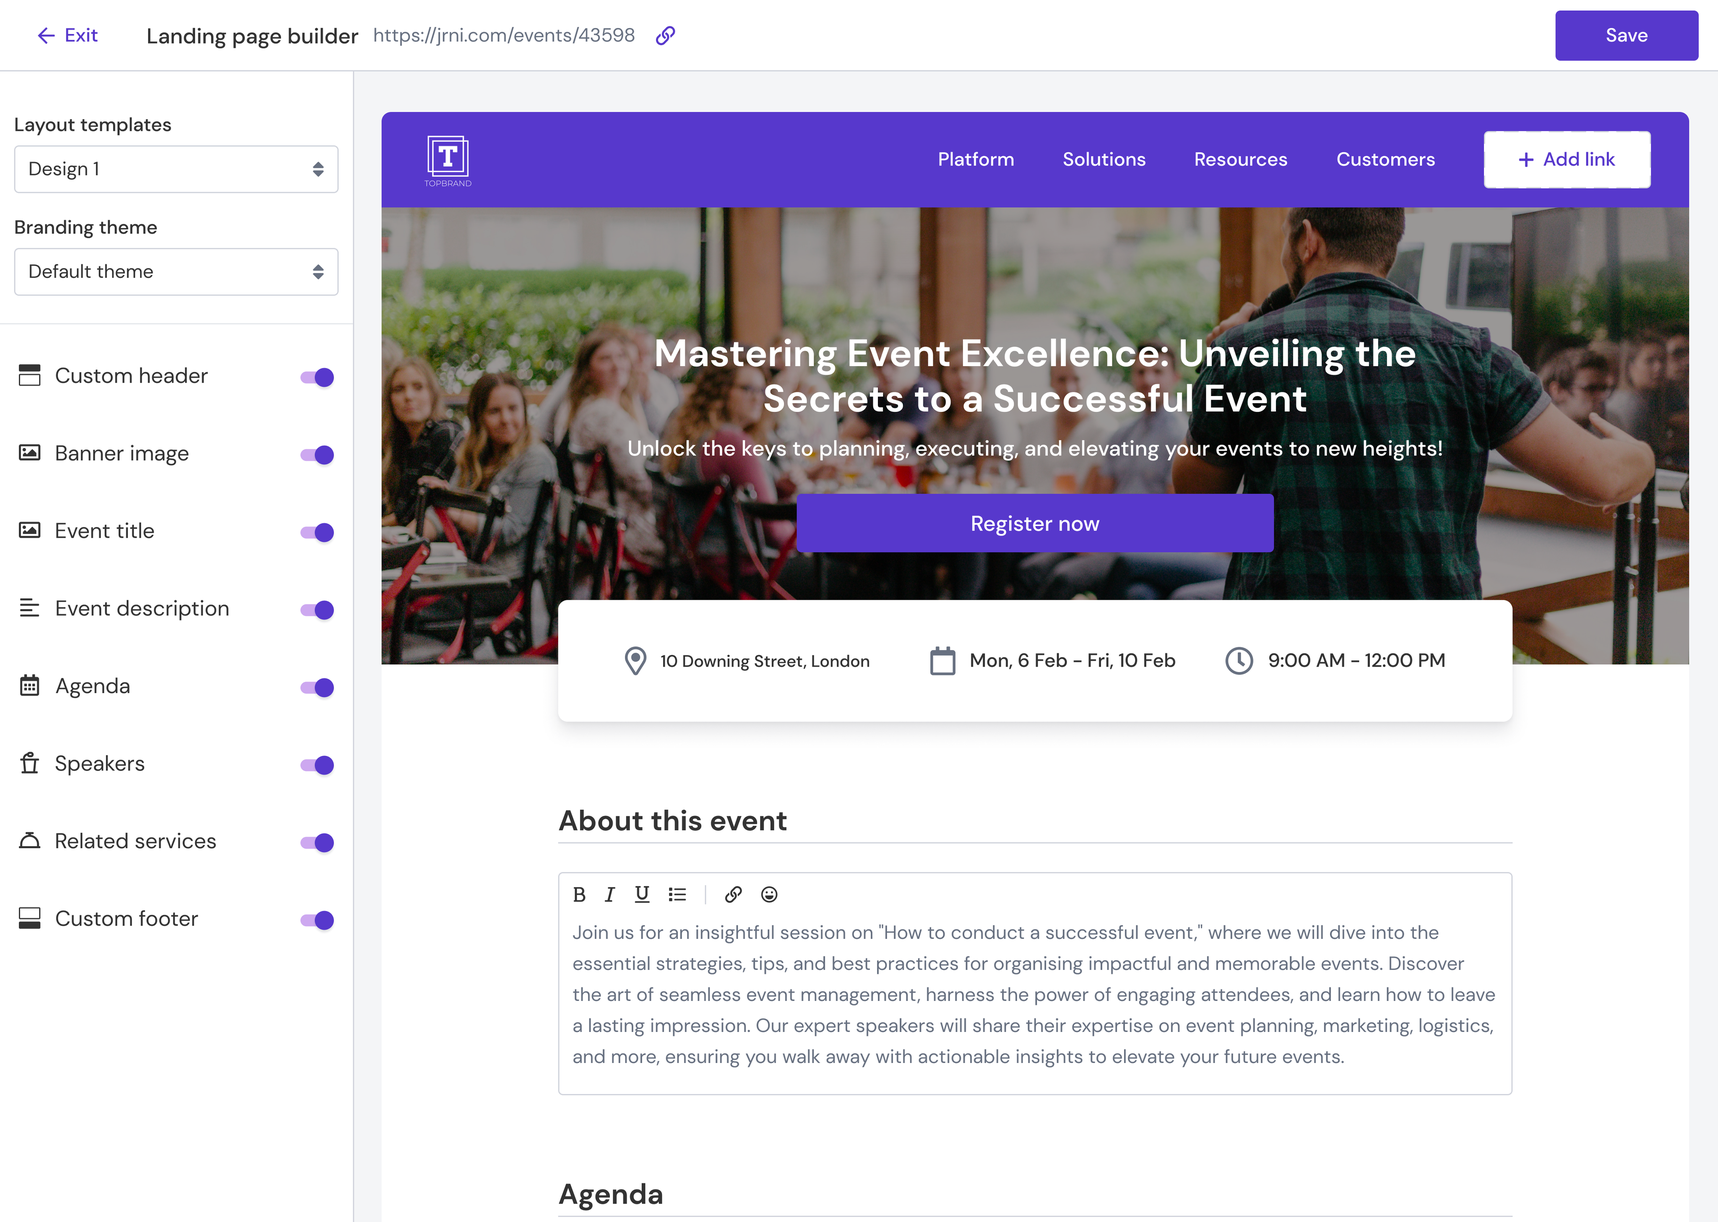
Customizing a landing page
- Selecting a layout design
In this section, you can pick a preferred design for the general layout of the page.

- Selecting a branding theme
The drop-down will list all the branding themes that were created under the company's parent using the Branding Theme Builder. Simply select the branding theme you want to apply and it will automatically adapt the colours, fonts, buttons etc of your landing page.
You can refer to the Branding Theme Builder documentation here.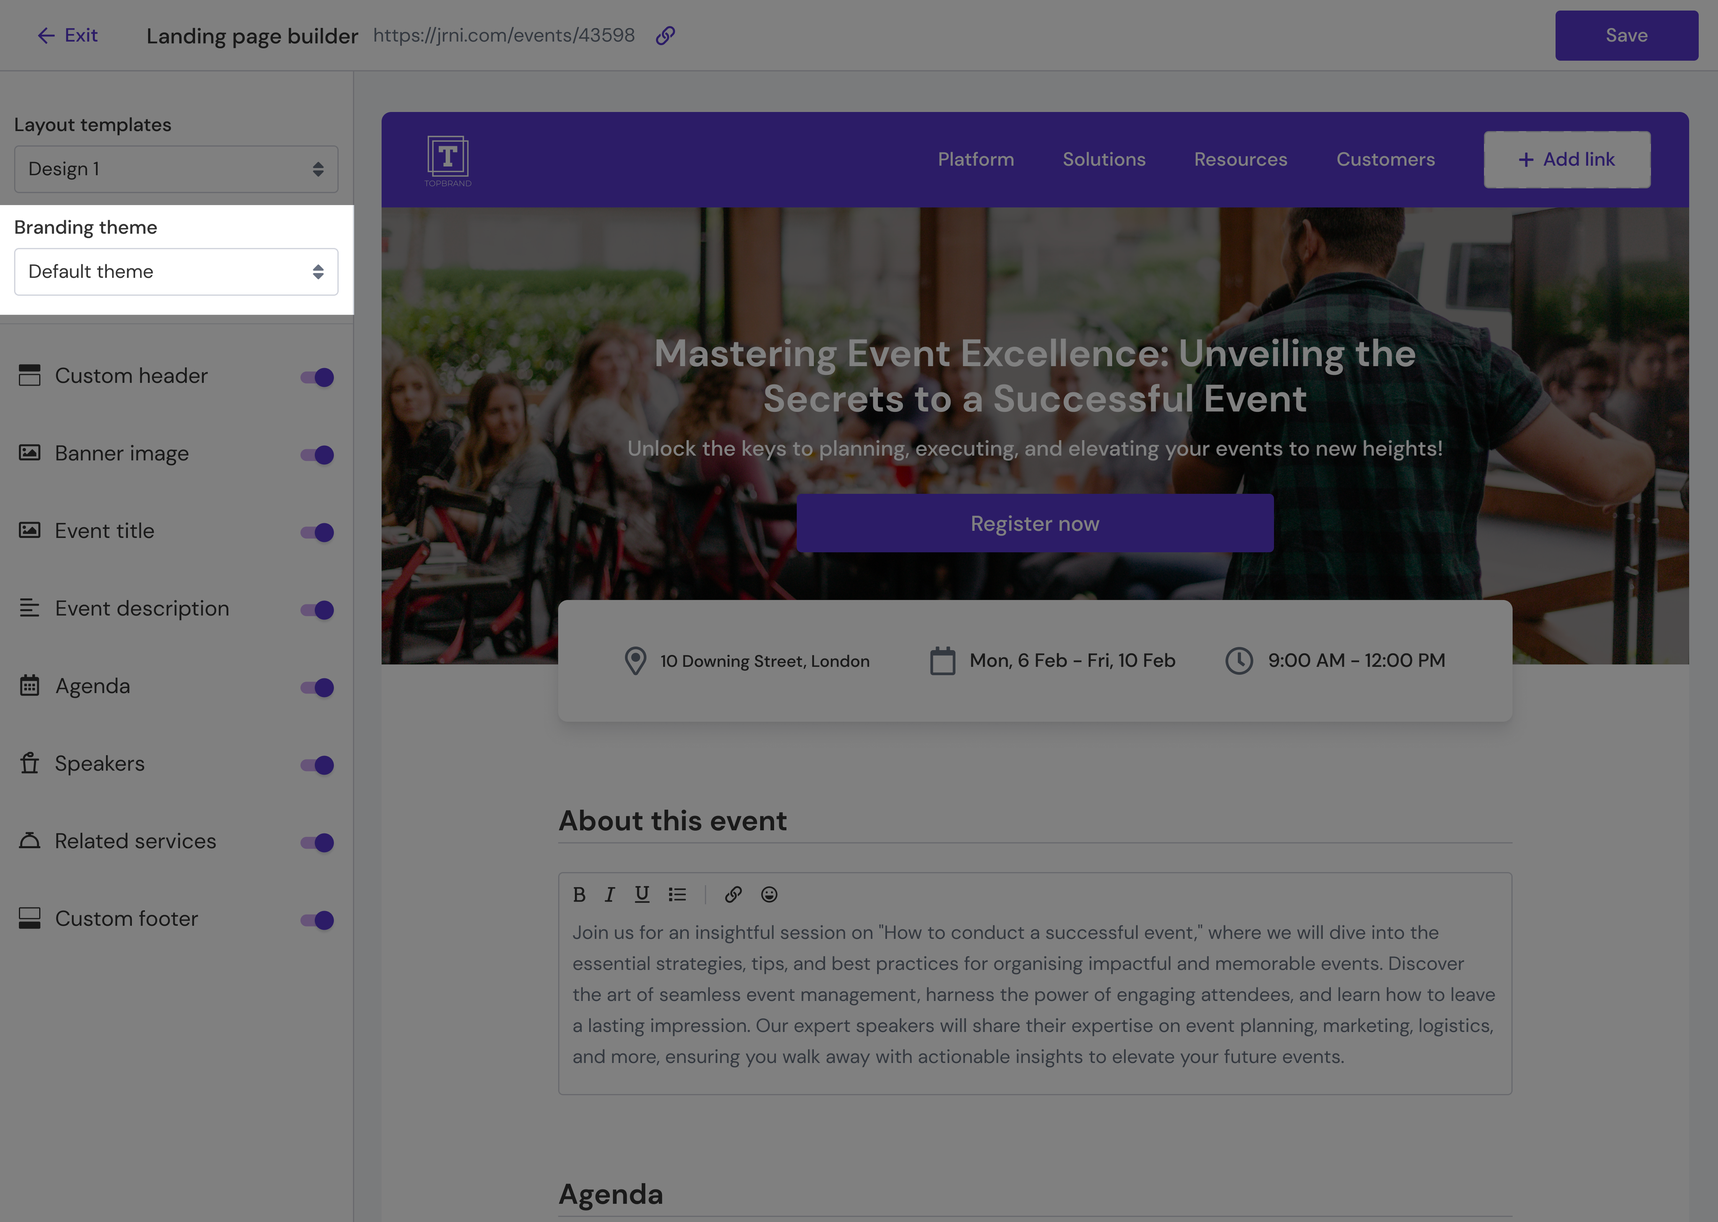
- Show/hide sections
The builder allows you to show or hide different sections based on the use case for a specific event. You can include sections such as custom header, event description, agenda, speakers, related services & custom footer - allowing full flexibility.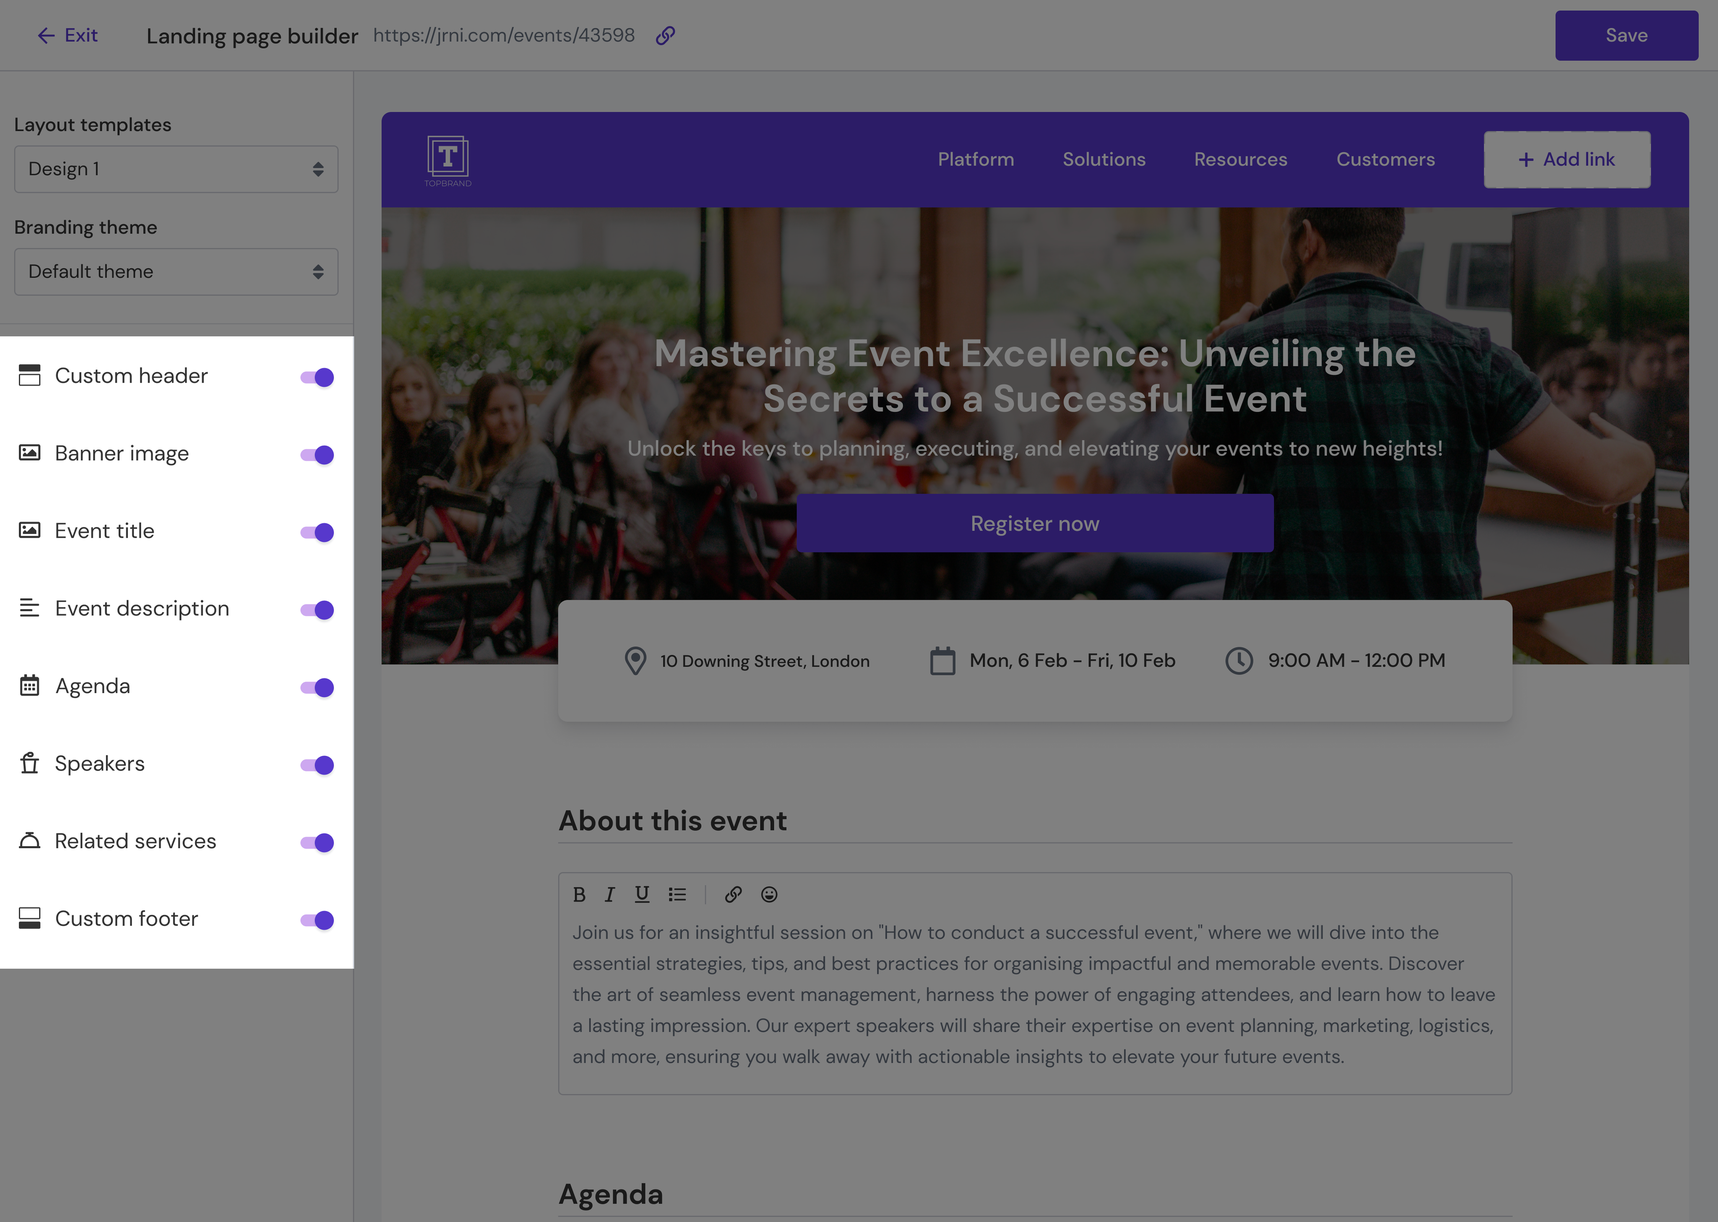
- Custom header
Optionally, you can choose to show a custom header at the top of the landing page. The header will contain the logo obtained from the branding theme. Moreover, you can add links to the header by clicking the '+' icon directly on the preview screen.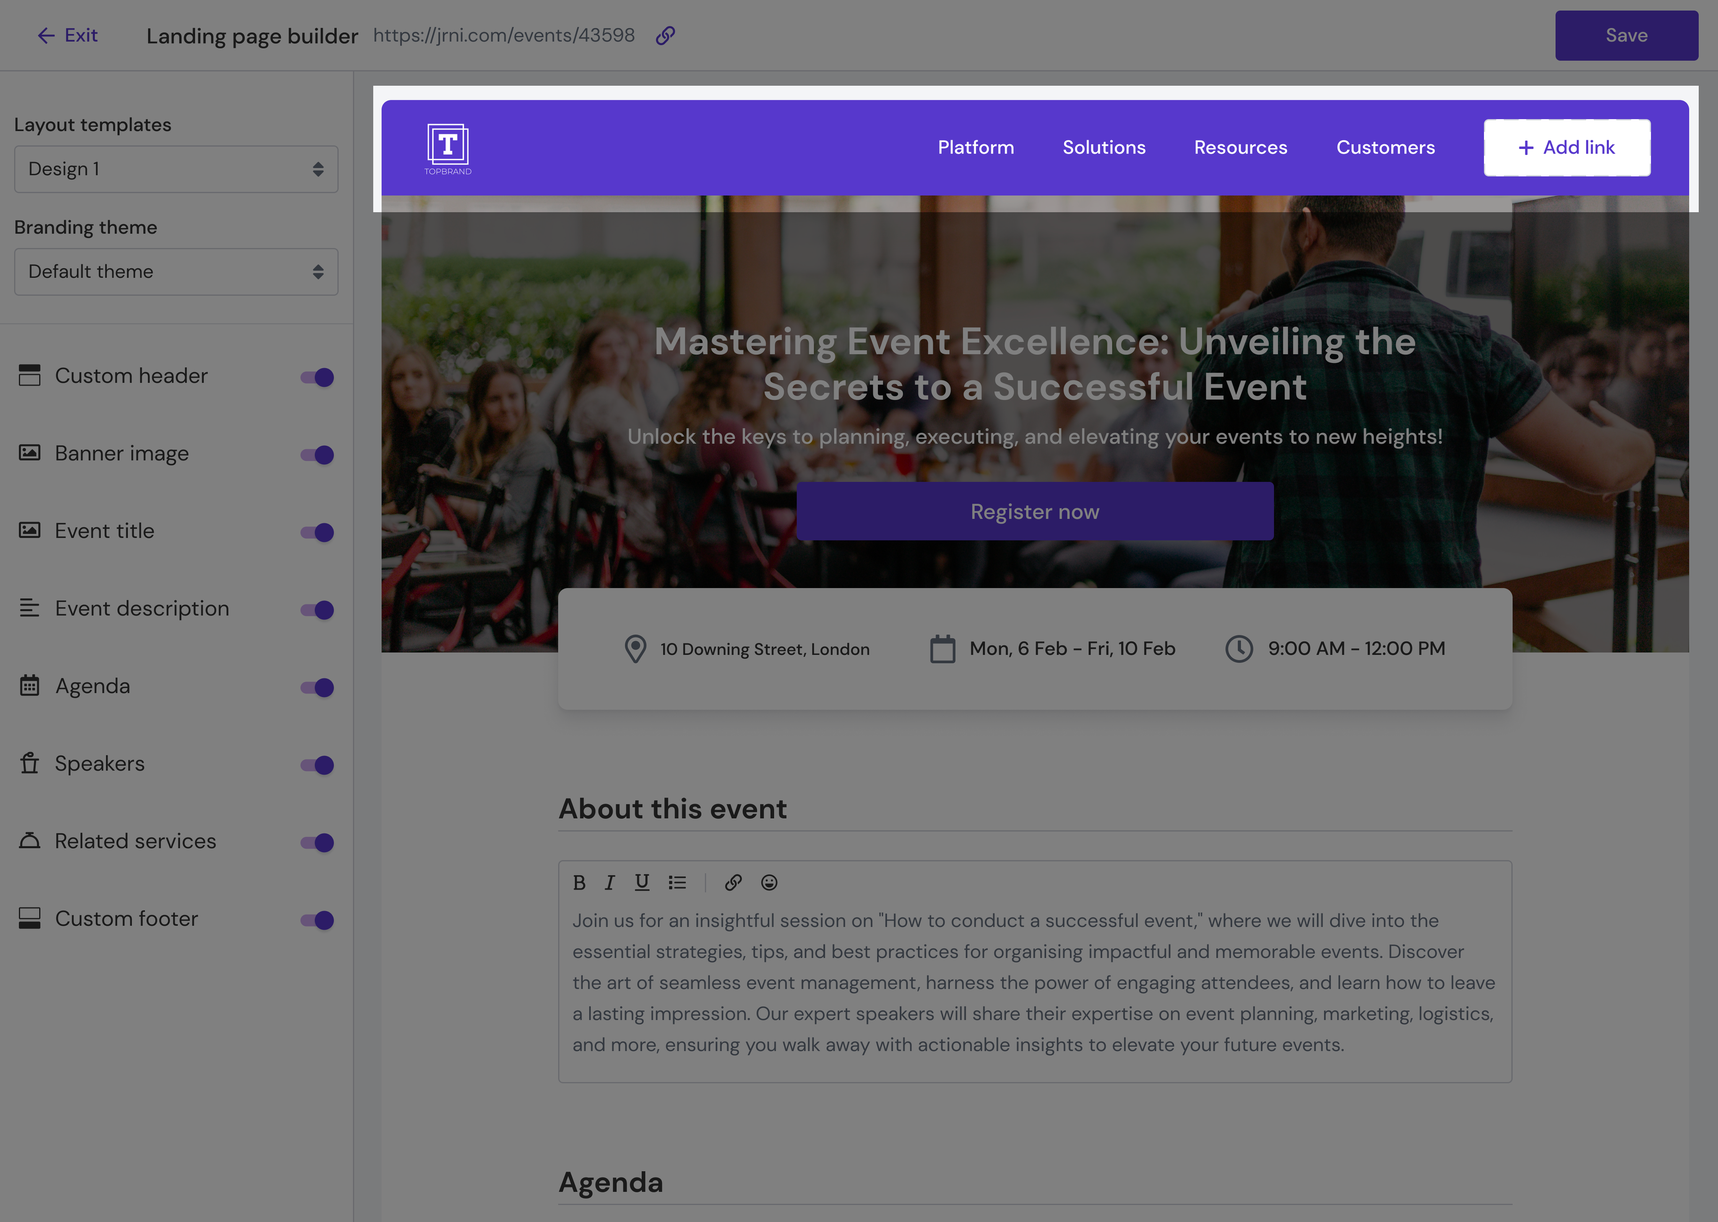
- Banner image
You can upload/change the banner image by simply clicking on the banner image in the background (on the preview screen).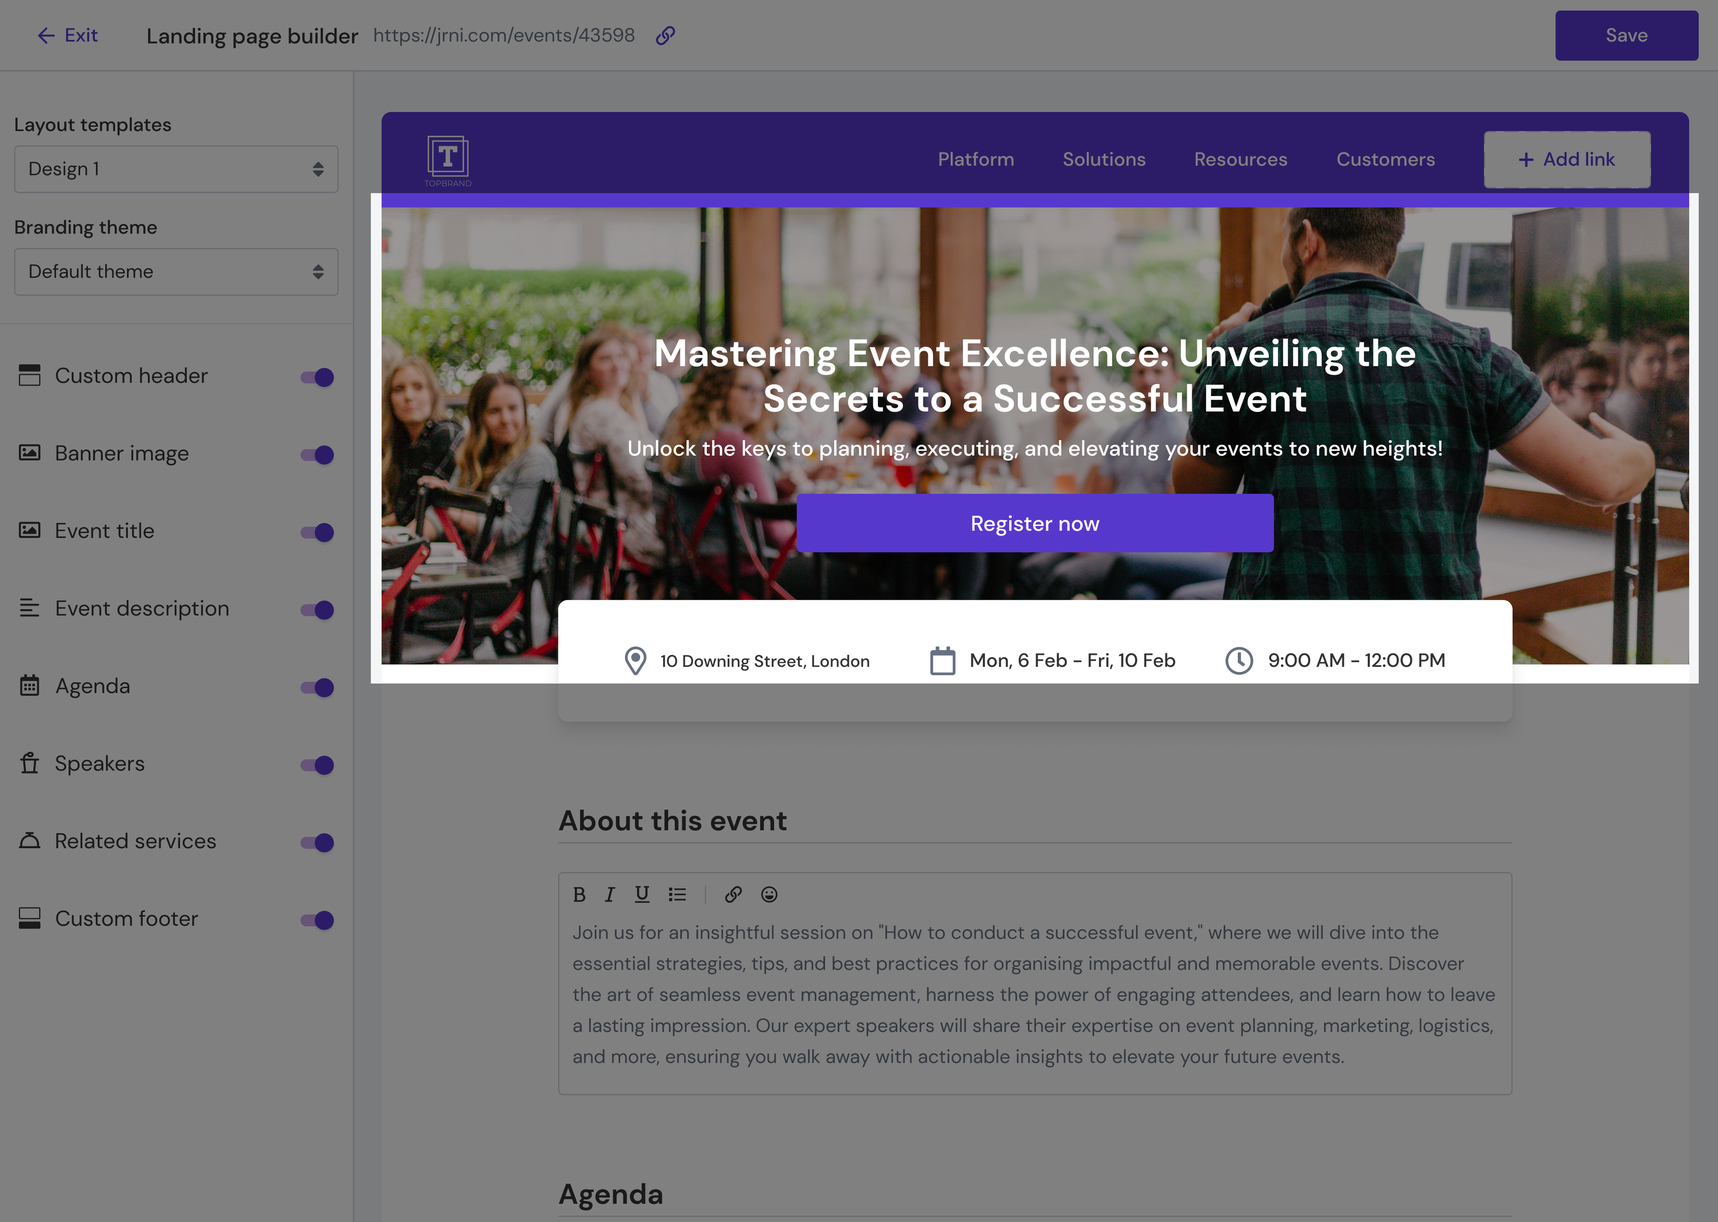
- Event title
You can show or hide the event details. All these event details are taken automatically from the event form in Studio. They contain the event title, short description, registration button, address, date, and time.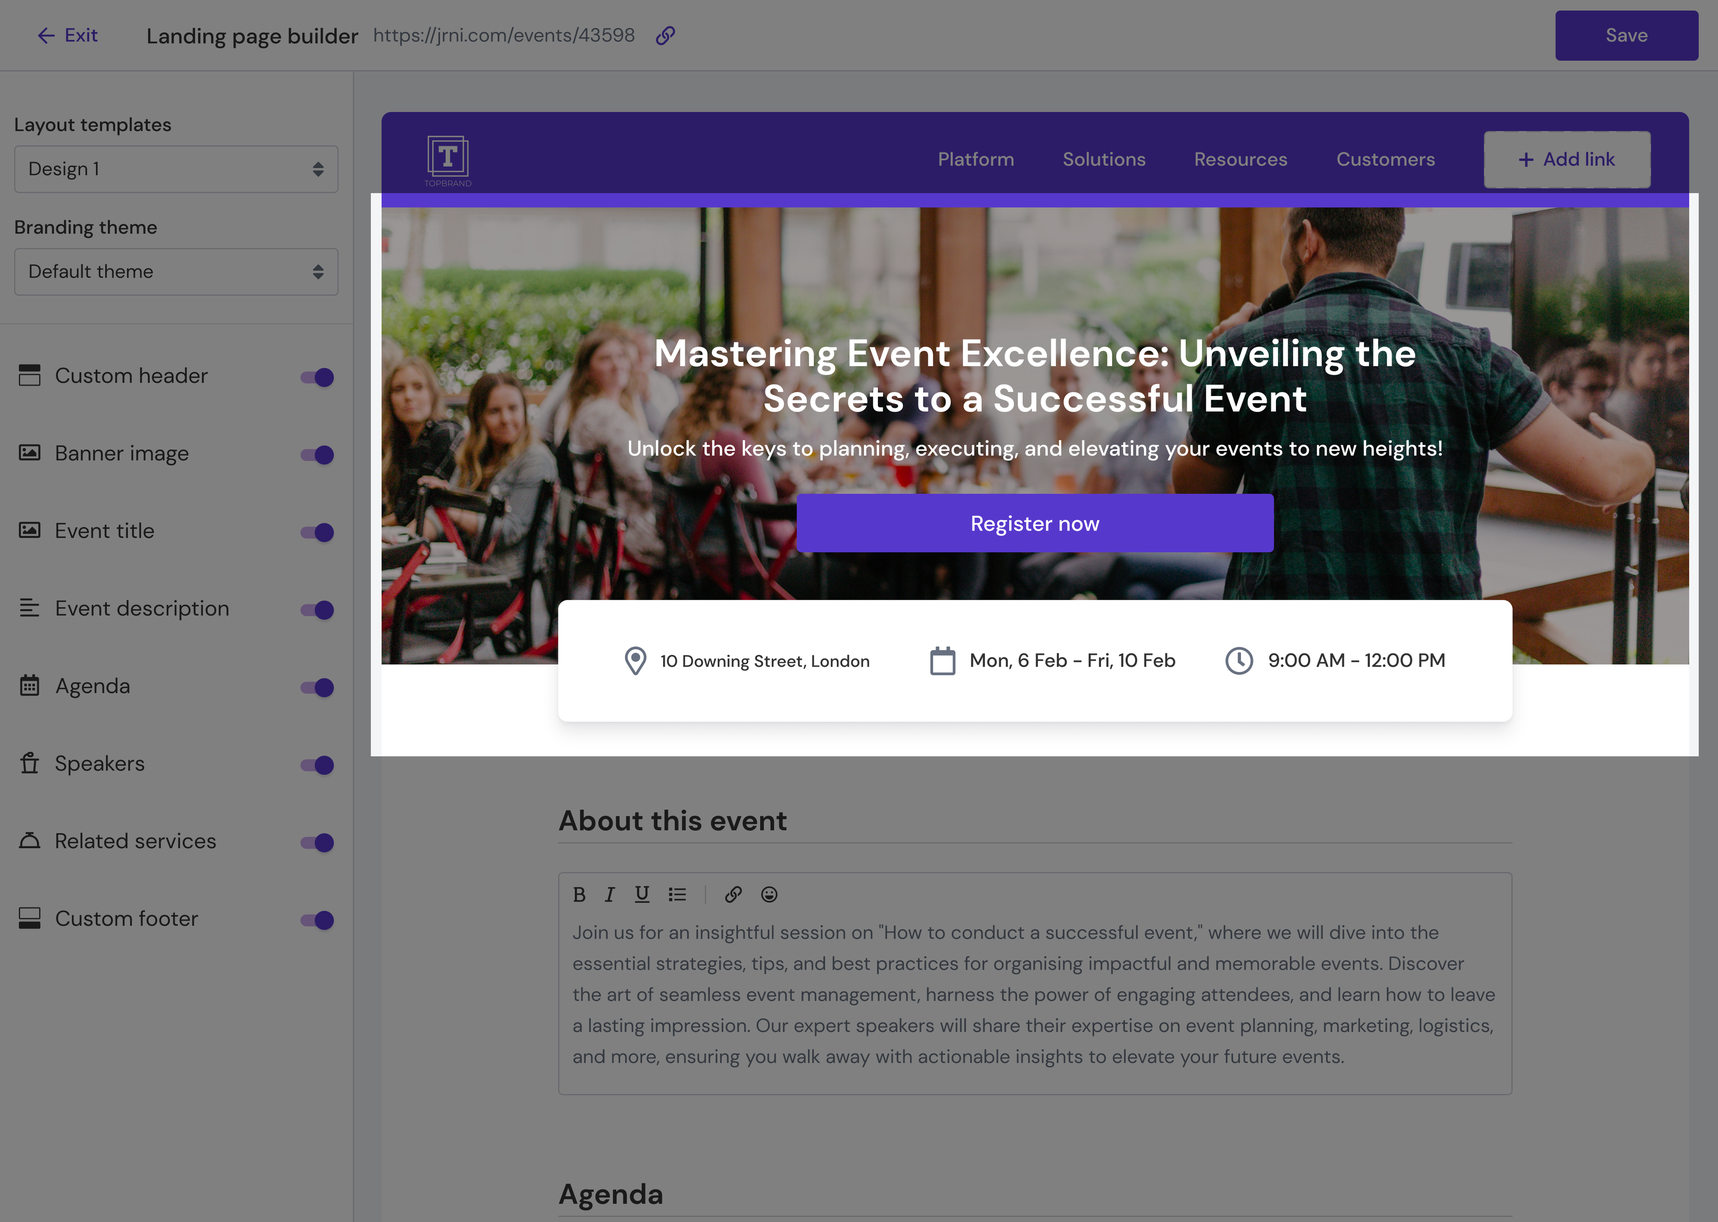
- Event description
This section allows you to provide a custom, detailed overview of the event with a longer event description.

- Agenda
This section allows you to add agenda topics. Each agenda topic consists of a title, description, and a start/end time. To add an agenda item, click on the "Add agenda topic" button directly in the preview.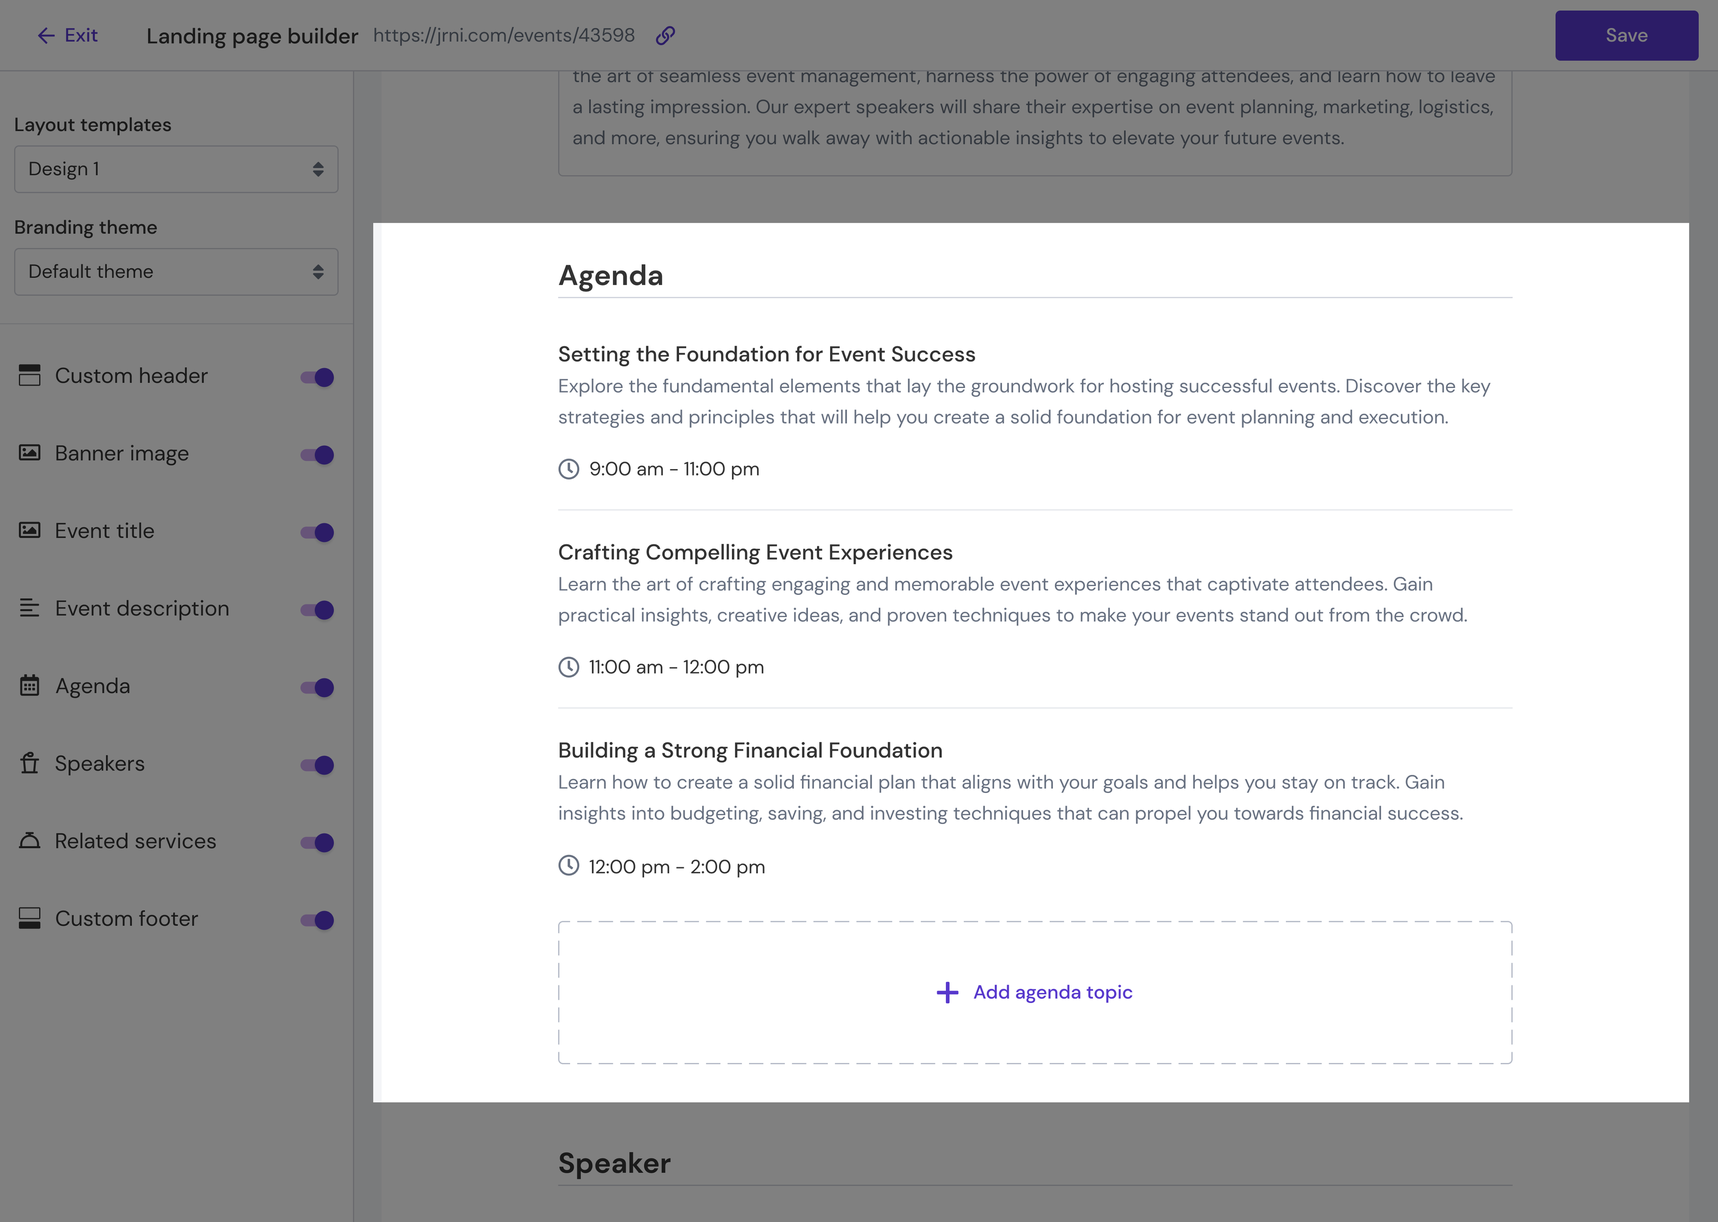
- Speakers
This section allows you to list event speakers with a speaker’s photo, name, and designation (normally their job role). To add a speaker, click on the "Add speaker" button directly in the preview.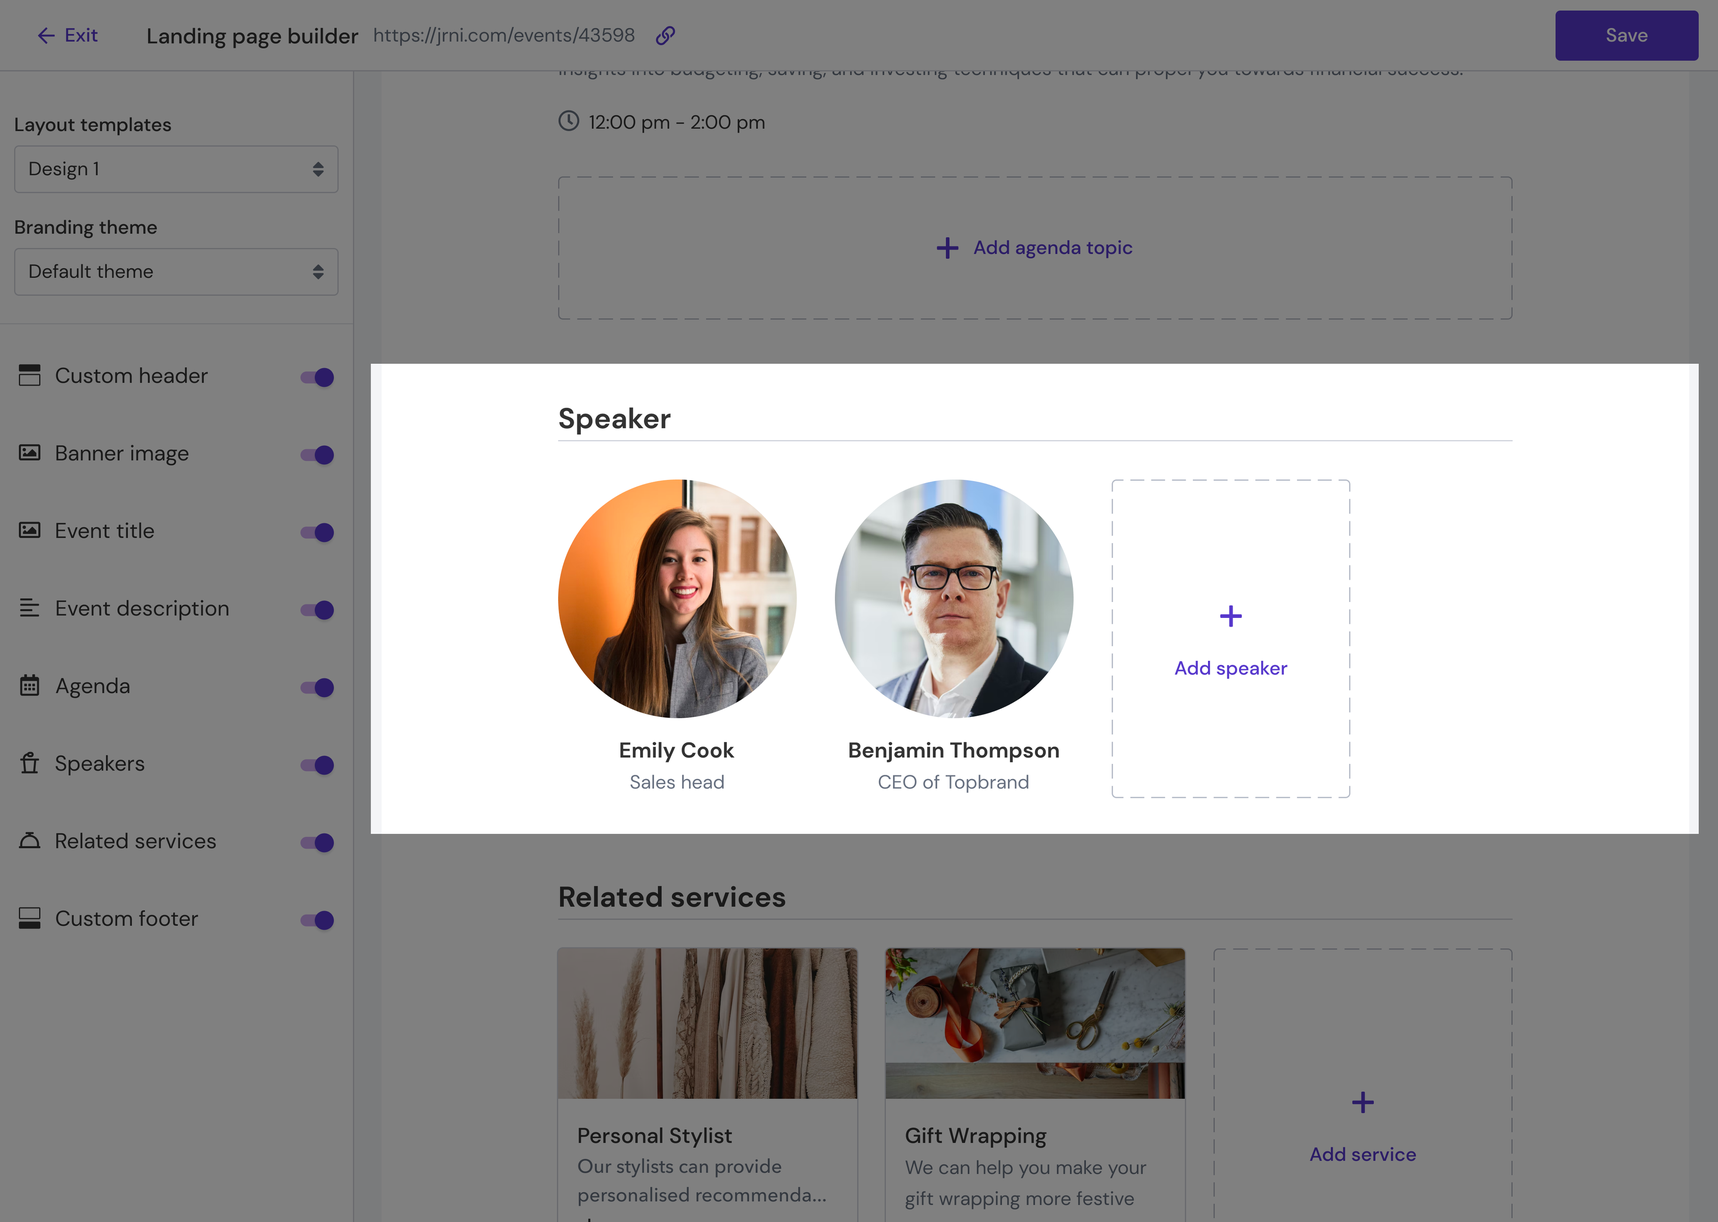
- Related services
If the event is related to one or multiple appointment services that you offer, you can promote the booking of these services directly on the events landing page. To add a related service, click on the "Add service" button directly in the preview. The service list will be retrieved from all services set up for the company in Studio.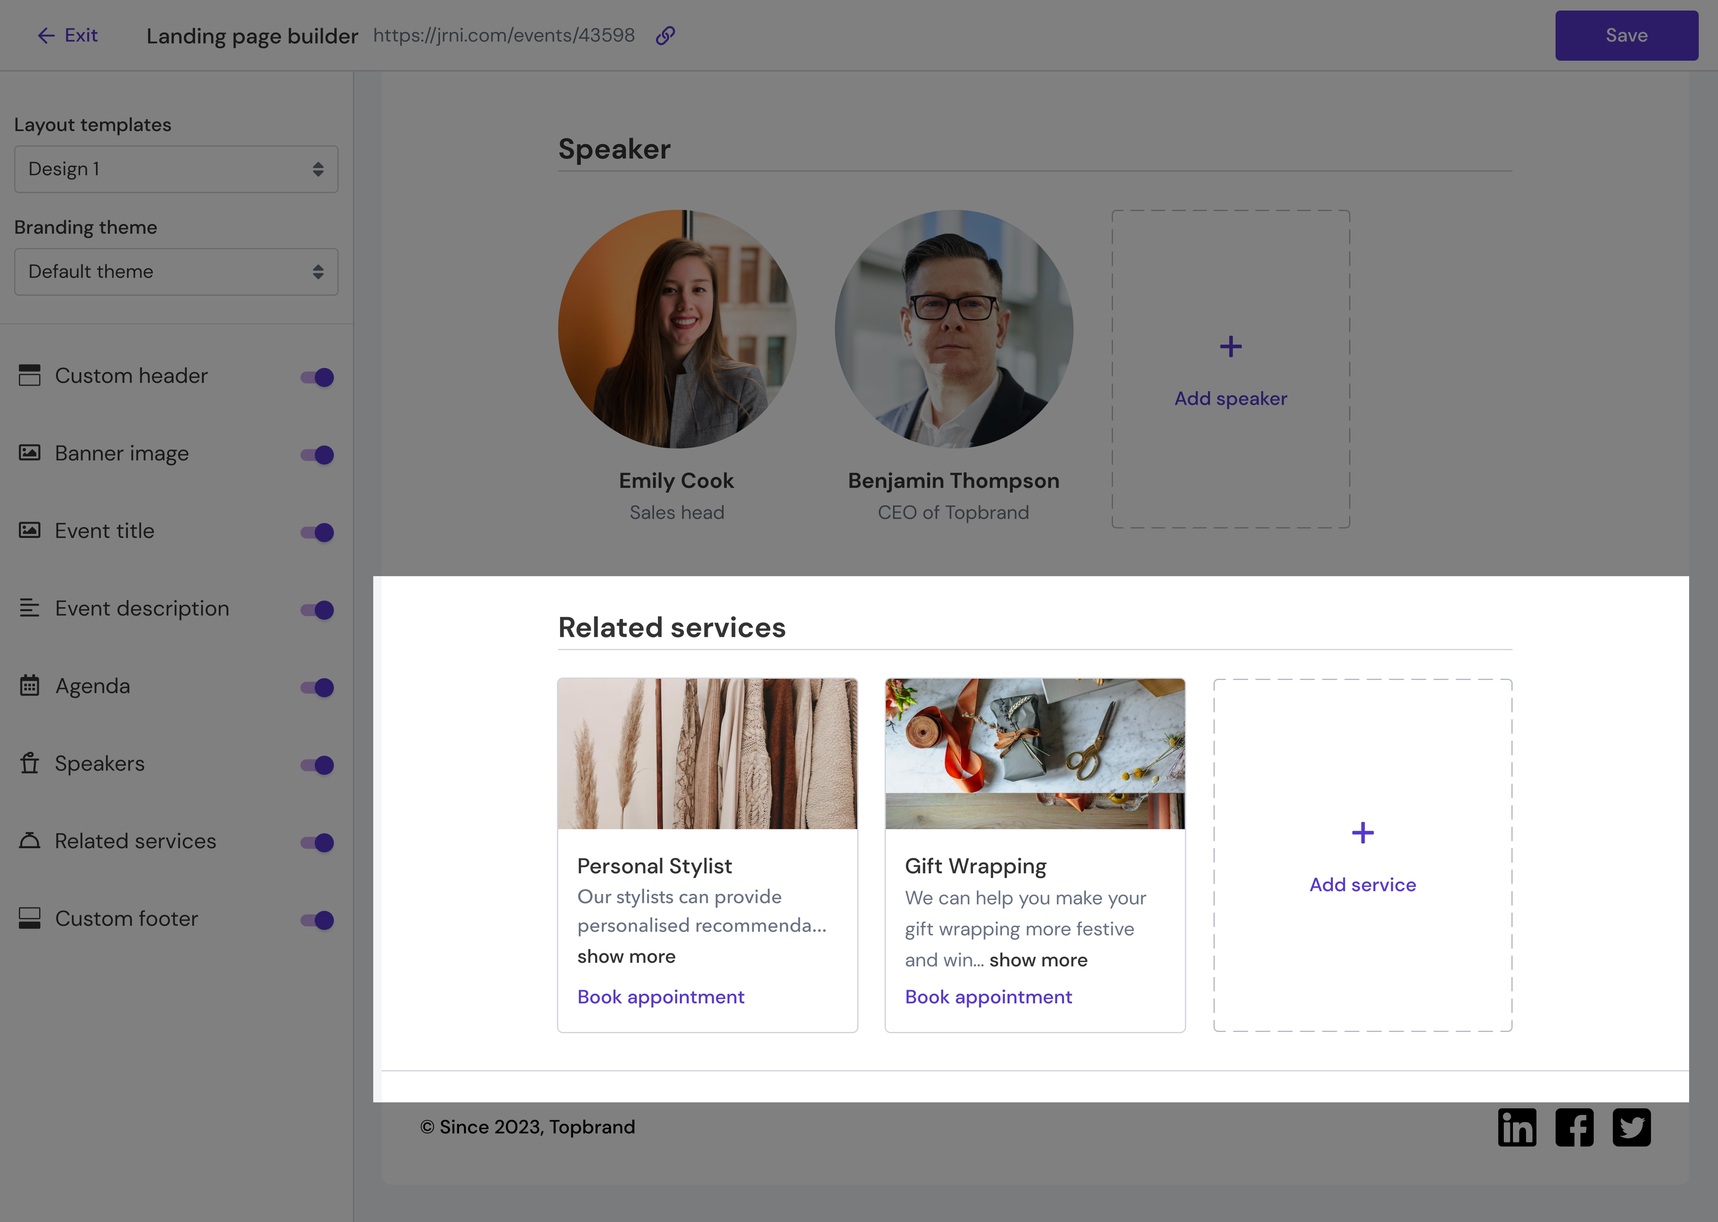
- Custom footer
You can optionally include a custom footer at the bottom of the landing page. The footer contains customisable copyright text and or social media links. You can add links to the footer by clicking the '+' icon directly on the preview screen.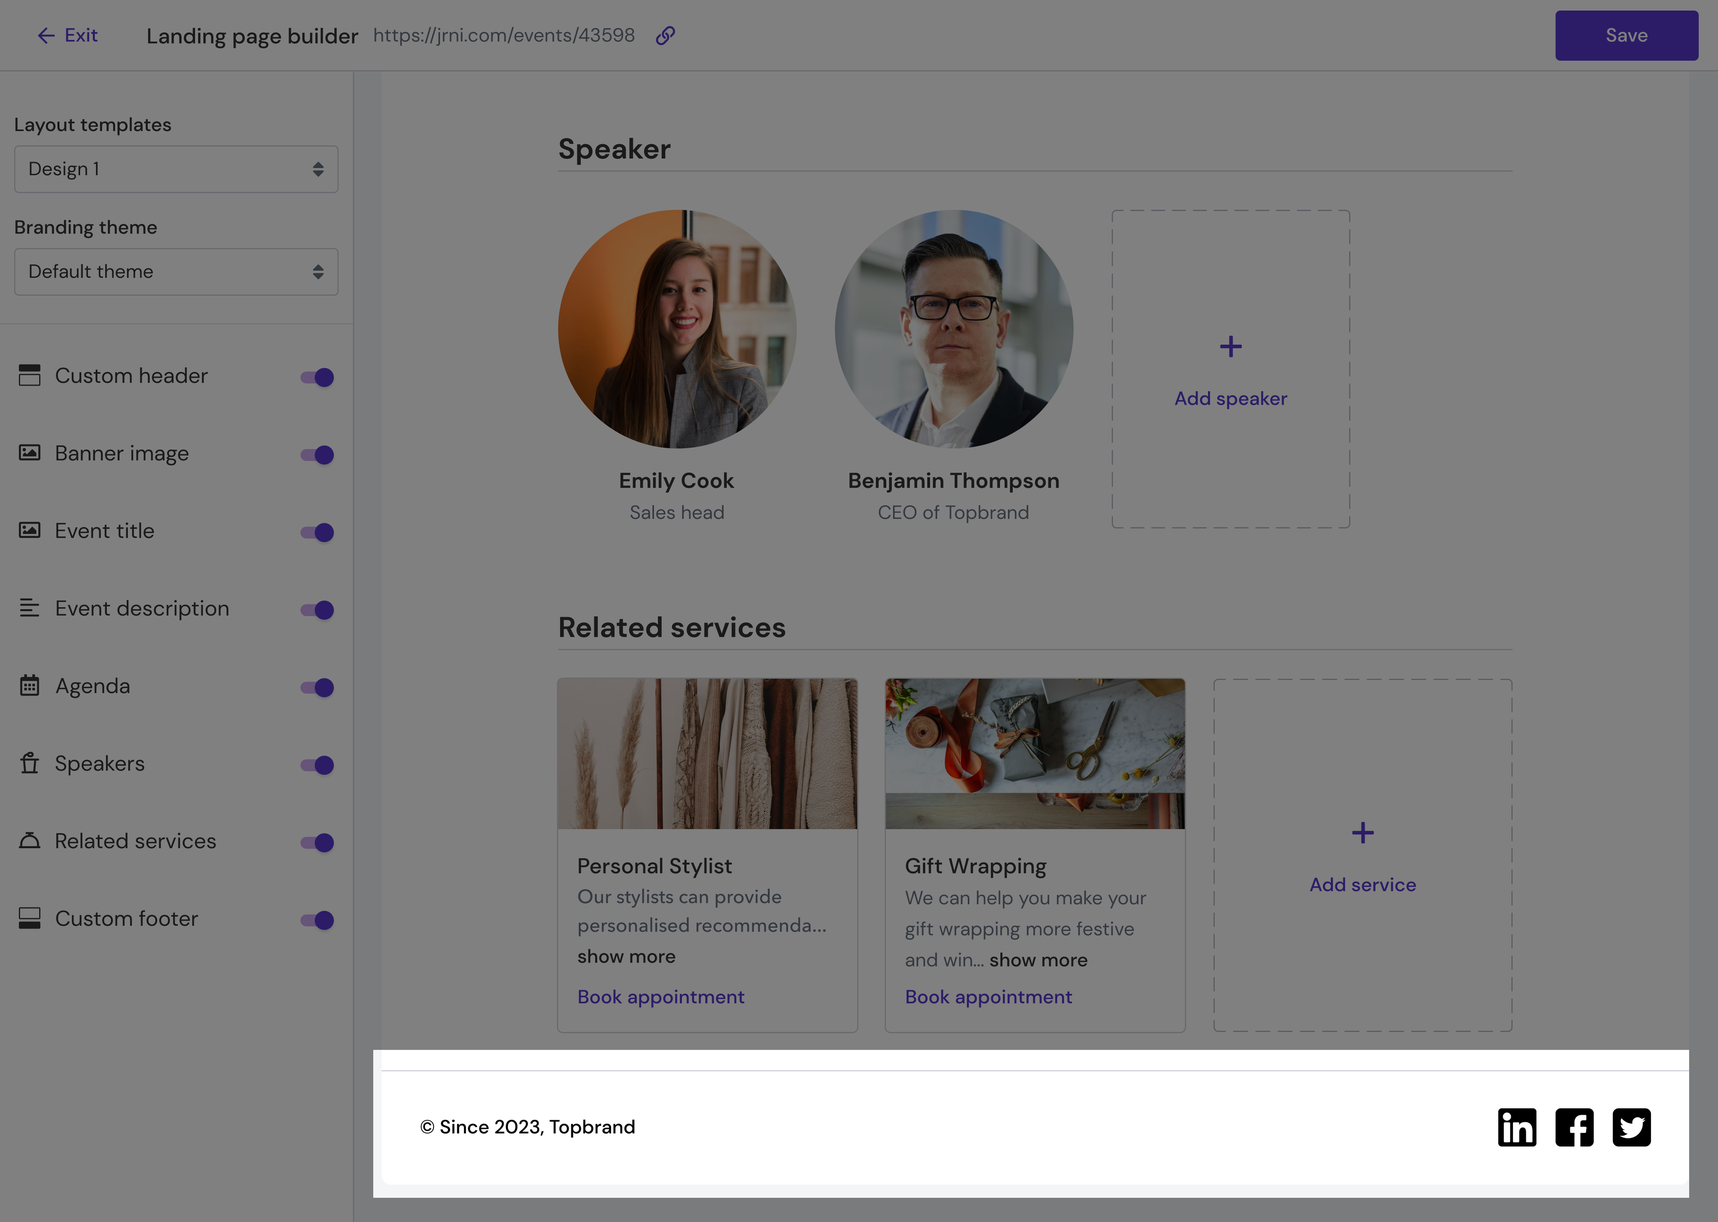
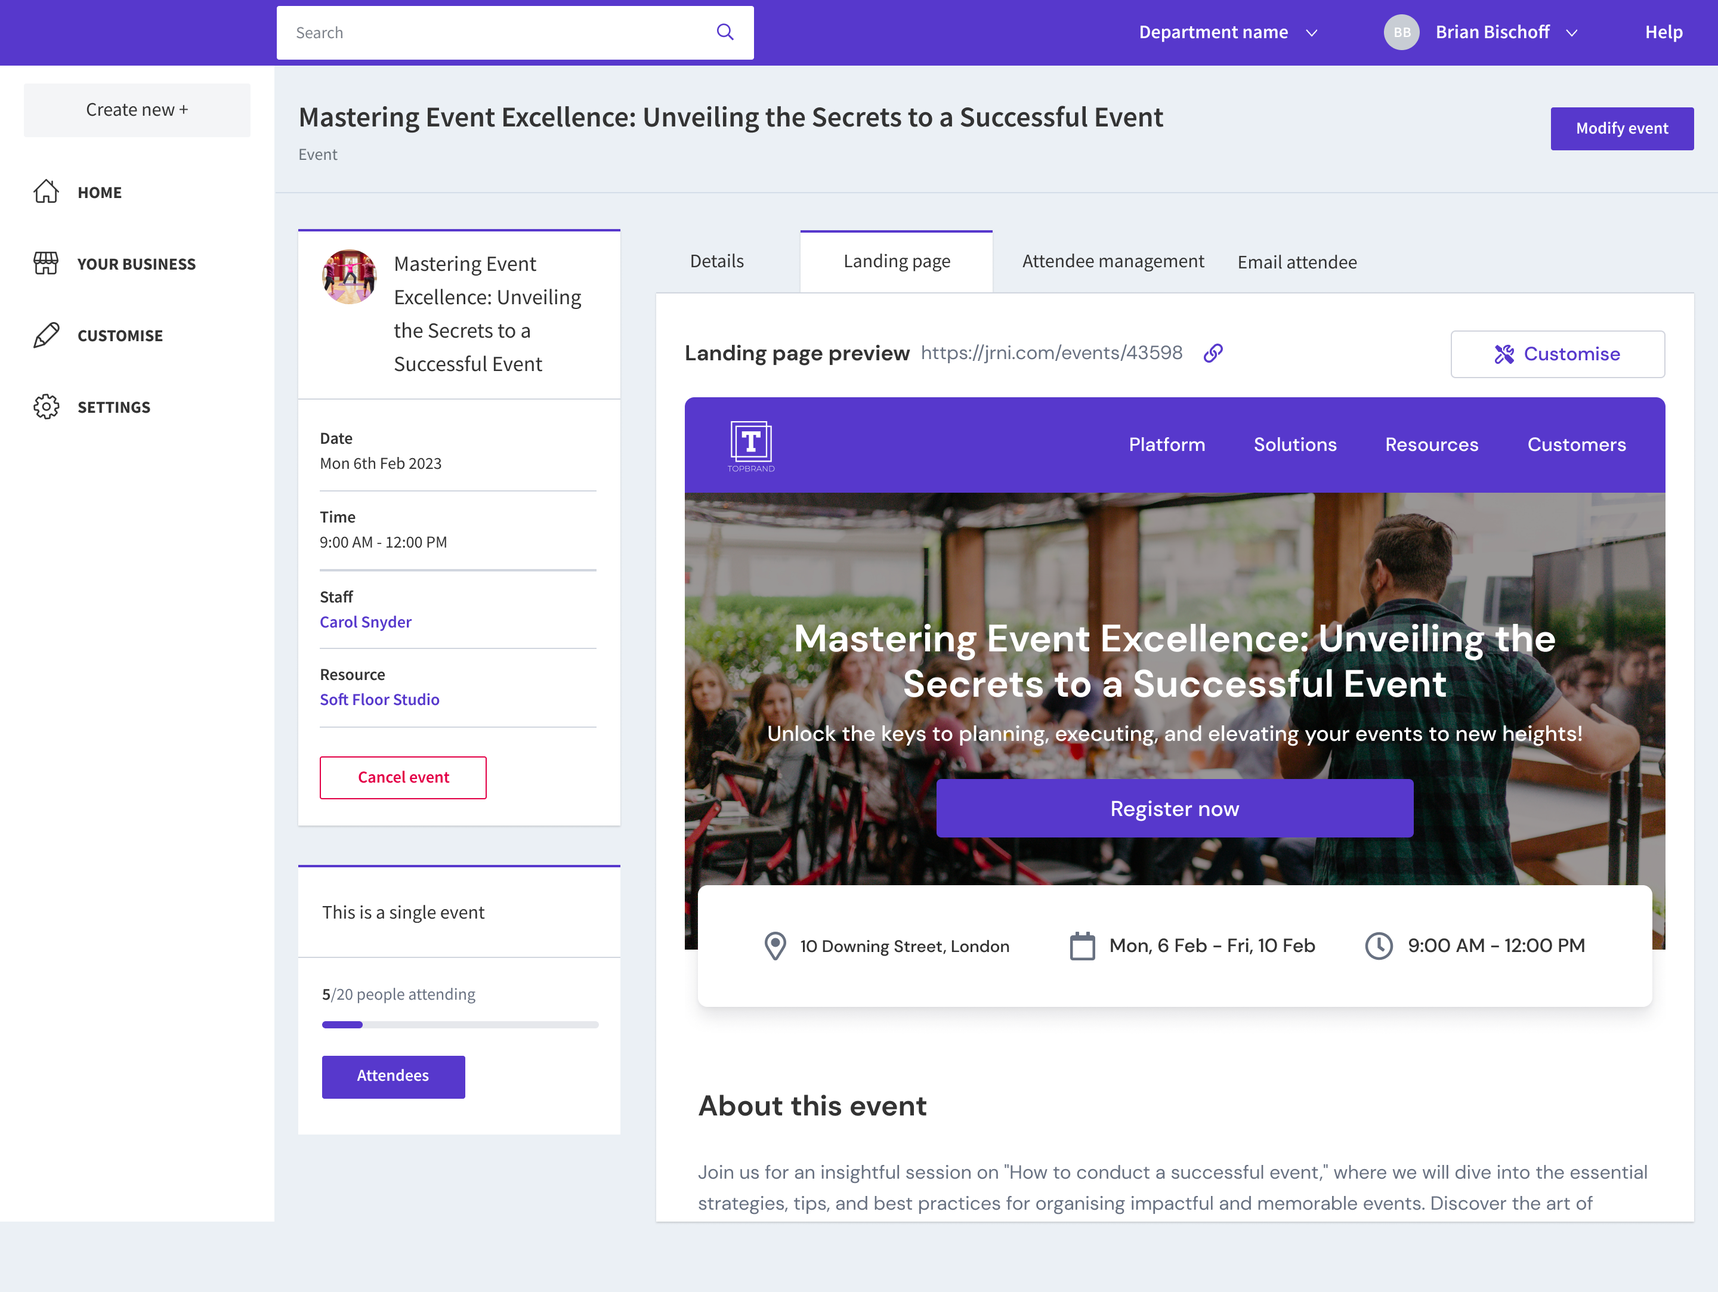
Viewing the landing page
A preview of the landing page can be found inside event details → Landing page tab. Users can also open the landing page URL to view the landing page. The URL can be found inside the landing page tab and builder (at the top).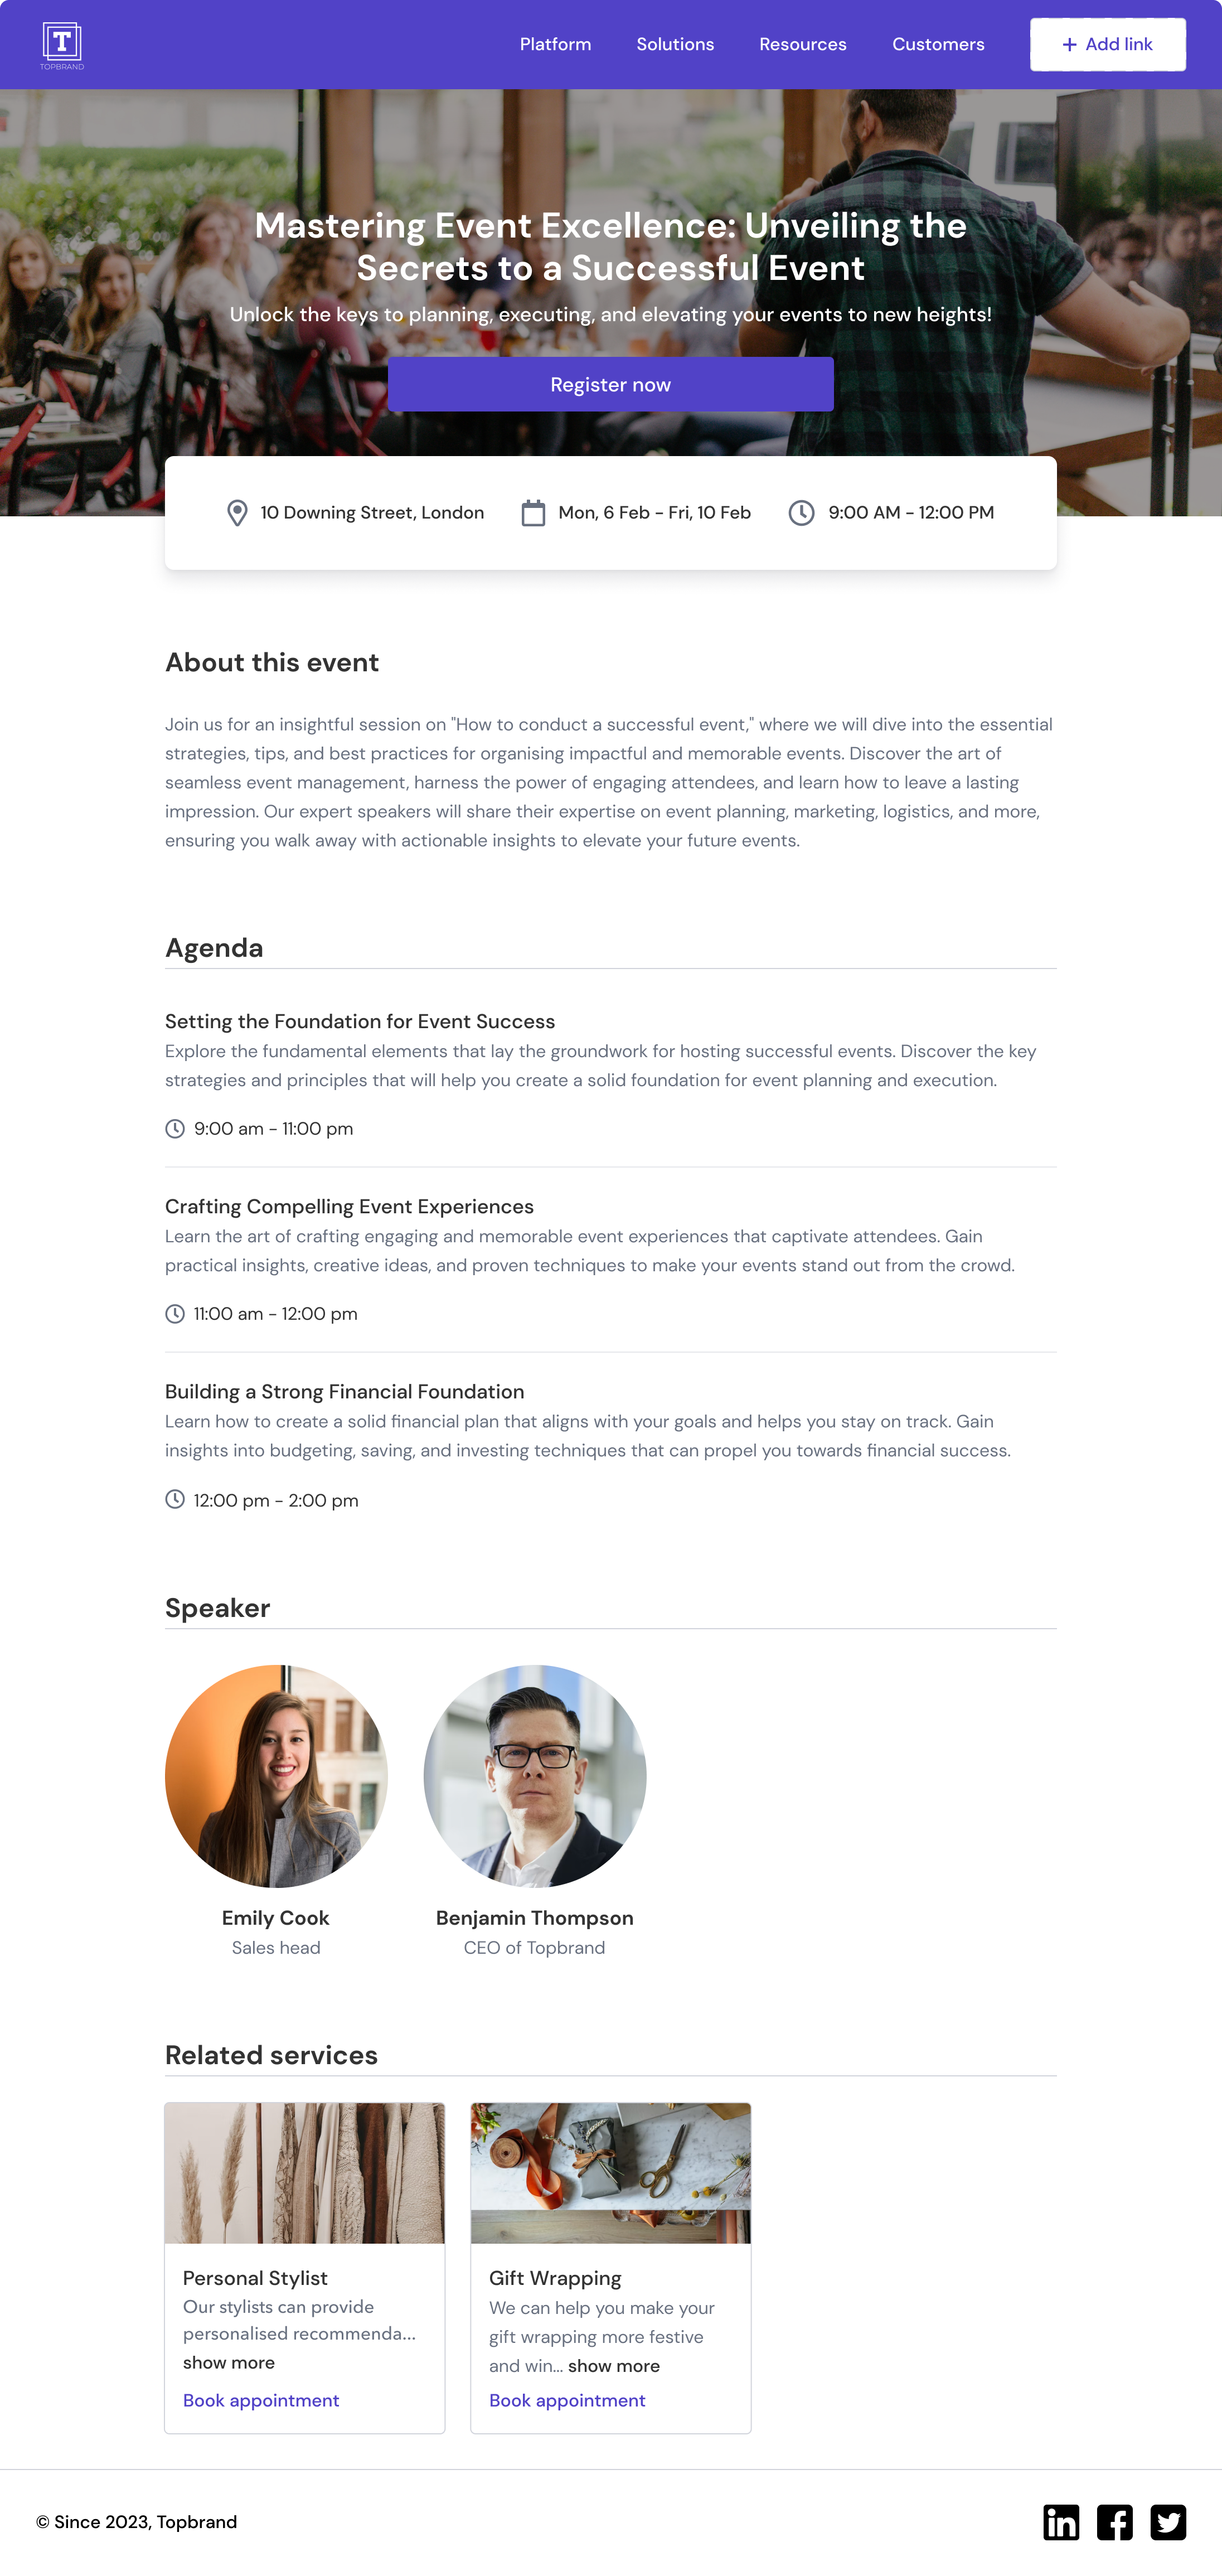
- Custom header
Related articles
Still have questions?
If you have any further questions about the new customer booking journey, please contact JRNI Customer Support, who will be happy to help.