Table of Contents
Setting up and managing a display board
 Updated
by JRNI
Updated
by JRNI
Display boards are customer-facing and show current queuing customers. They show which customers are being served, queueing waiting to be seen, and how long the approximate wait time is.
Display boards are only available at child level but can be viewed without being logged into a JRNI account using a secure link which can be distributed to stores and reset at any time.
Display boards and virtual queueing work hand-in-hand and must be configured on your JRNI account. If it is not currently configured and you would like it to be, please get in touch with your Customer Success Manager.
How to create a display board
- Log into your JRNI account and select a child location.
- Navigate to Your Business > Display Board.
- On the right hand side of the page, select Create new display board.
- Fill in the creation fields:
- Board name: Give your display board an appropriate name (e.g., Store 25 Queue). This is an internal reference.
- Queues: Select the queue(s) you want to display. You can select a single or multiple queues for one display board. Queues are created within the Queue tab under Your Business and allow you to assign the queue to a service and assign staff to that queue.
- Visible info: Select the information you want to be shown on the display board to represent customers in the queue (e.g., full name or ticket number).
- Once all creation fields have been filled, select Save and the new display board will appear in the list of display boards.
Display board link
When you create a display board, you will be given a unique, secure link that can be shared with staff members for use within stores. This means that you do not need to log into a JRNI account to access the display board.
This secure link is found on the display board information box on the Display Board page under Your Business. You will see the link on the row labelled short link.
Launching a display board
Launching a display board allows you to view your display board, which will show you two lists:
- Now Serving = Customers currently being served.
- Please Wait = Customers waiting to be served.
If there are too many people in either of the two lists, a message will appear underneath the last name indicating how many more customers/names are in that particular list, as shown below.
The approximate wait time is shown at the top of the display board so that customers are aware of the current wait time upon joining the queue.
Wait time is the approximate time a queuer would have to wait if they joined the queue now. If you have multiple queues on one display board, the wait time will reflect each individual queue.
When a queuer (customer) is indicated as served in the Concierge screen (found under Home of JRNI Studio), a queuer will move status columns. The queuer in the Now Serving column will be highlighted in a different shade for 60 seconds from the time of serving to indicate it is their turn to be served. When a server (staff member) selects Finish Serving from the Concierge screen, the queuer will disappear from the display board.
Launching a display board with multiple queues
You can select multiple queues to be included within one display board (as seen below). Doing this will be helpful if you have one waiting/queueing area for customers waiting for a number of different services.
When you launch your display board, it will appear as one queue and then after a 10 second interval will switch to the next queue as shown below. This will happen as many times as there are queues.
Editing a display board
- Log into your JRNI account and into a child location.
- Navigate to Your Business > Display Board.
- Find the display board you wish to edit from the list provided and select Edit on the right hand side.
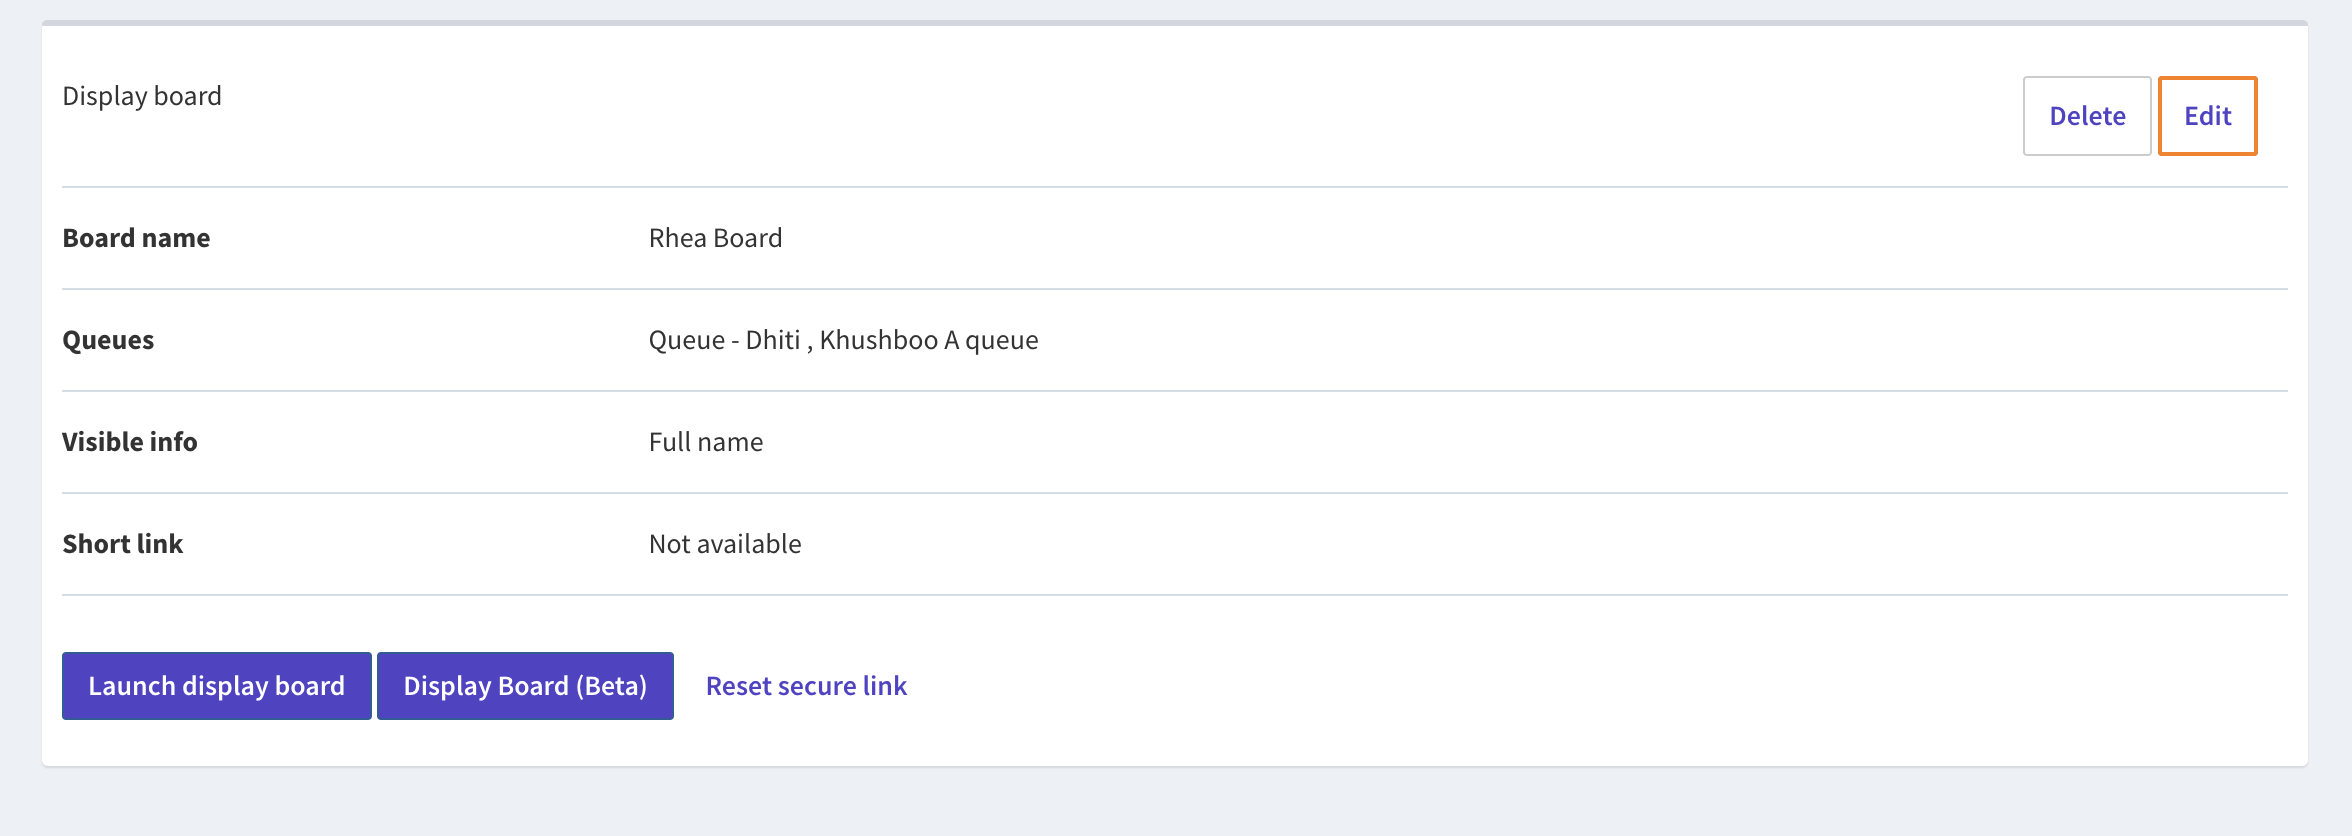
- You will then be shown the creation fields, identical to when you create a display board. Refer to the How to create a display board section within this article for more information on each field.
- Once all amendments have been made, select Save.
Resetting the secure link
As previously mentioned, display boards can be accessed through a secure link meaning you do not need to log into a JRNI account to be able to use it.
From time to time, you may wish to reset the secure link for security purposes.
- Log into your JRNI account and into a child location.
- Navigate to Your Business > Display Board.
- Find the display board you wish to reset and select Reset secure link at the bottom of the display board information.

- This will then change the link that appears next to Short link, and can then be shared amongst staff members to be used immediately.
Deleting a display board
- Log into your JRNI account and into a child location.
- Navigate to Your Business > Display Board.
- Find the display board you wish to delete from the list provided and select Delete on the right hand side.
- The below message will appear asking you to confirm your decision. Select Delete Display Board if you still wish to delete the display board.
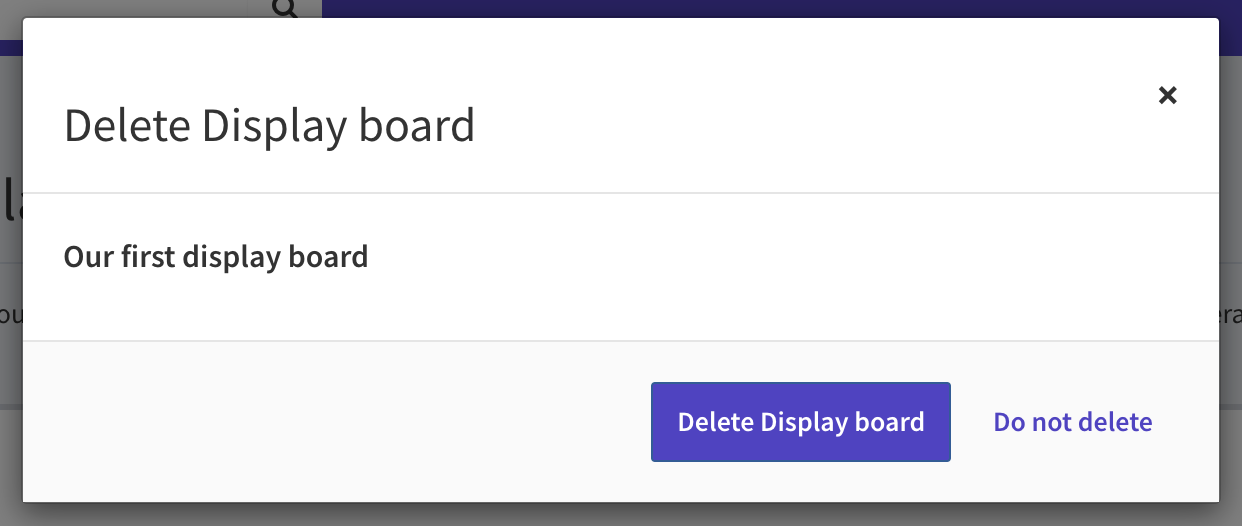
- That display board will then be removed from the list and will no longer be available for use.
New Display board
In our new display board a consolidated view of all customers (in queue & being served) from all queues are presented in a tabular format. All columns, except for the Ticket and Status columns, can be toggled On/Off to be displayed on the board.
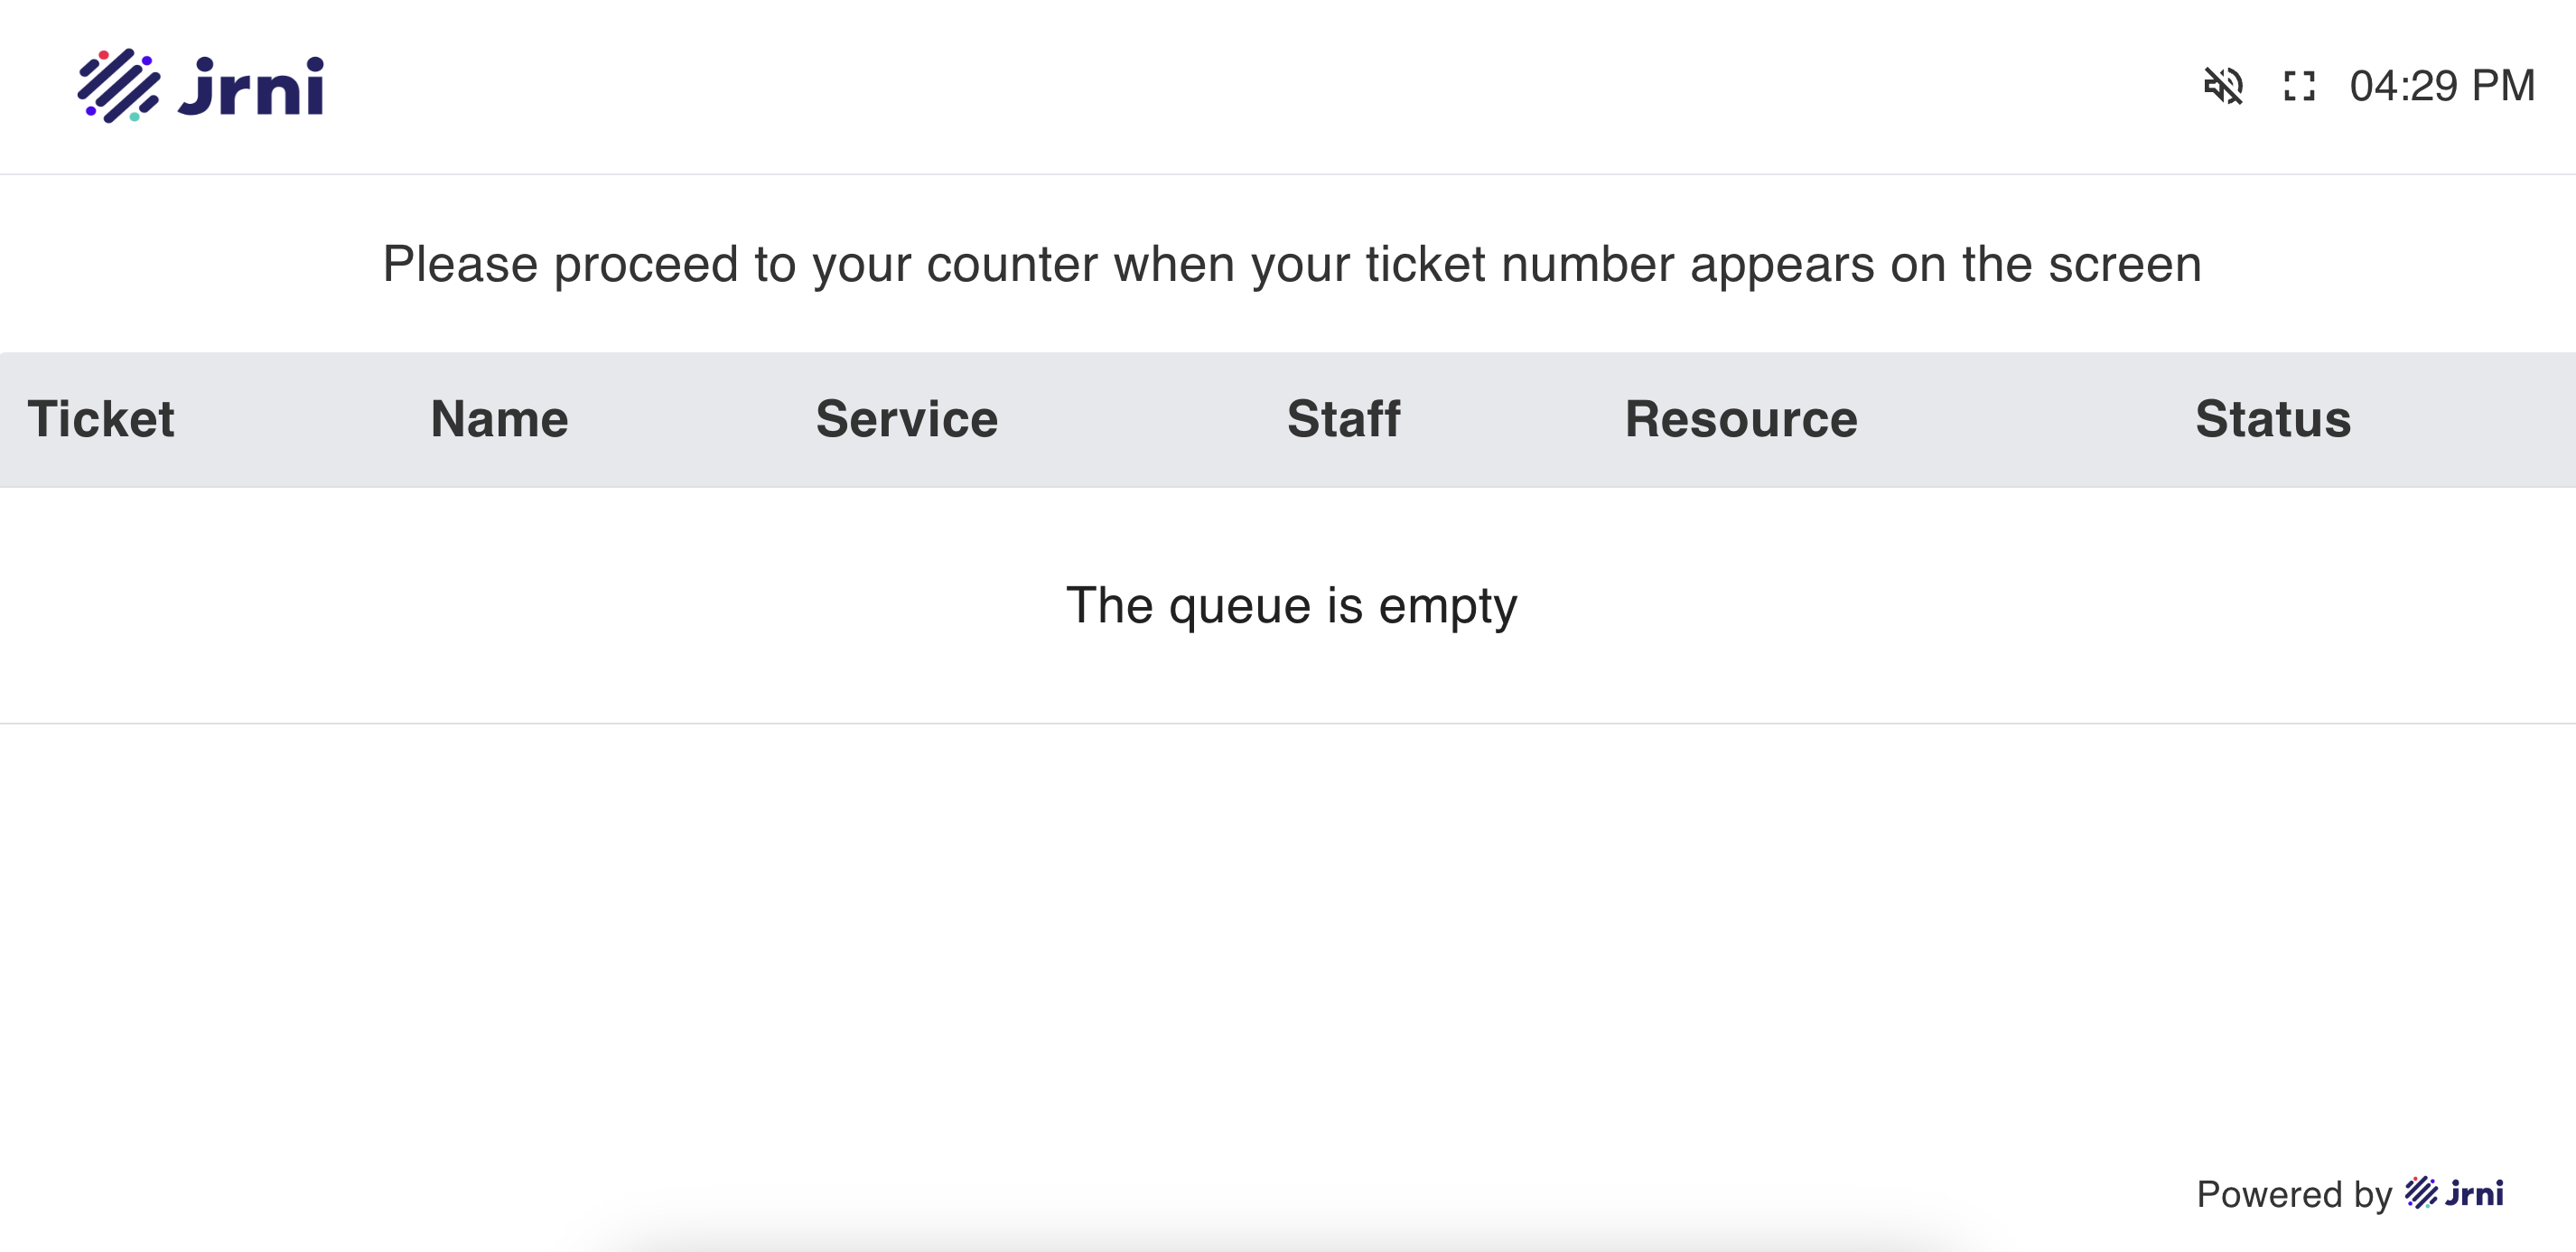
When a customer’s turn comes up, their name will be moved to the top and the row will flash in green for 10 seconds and remain steady green for another 50 seconds.
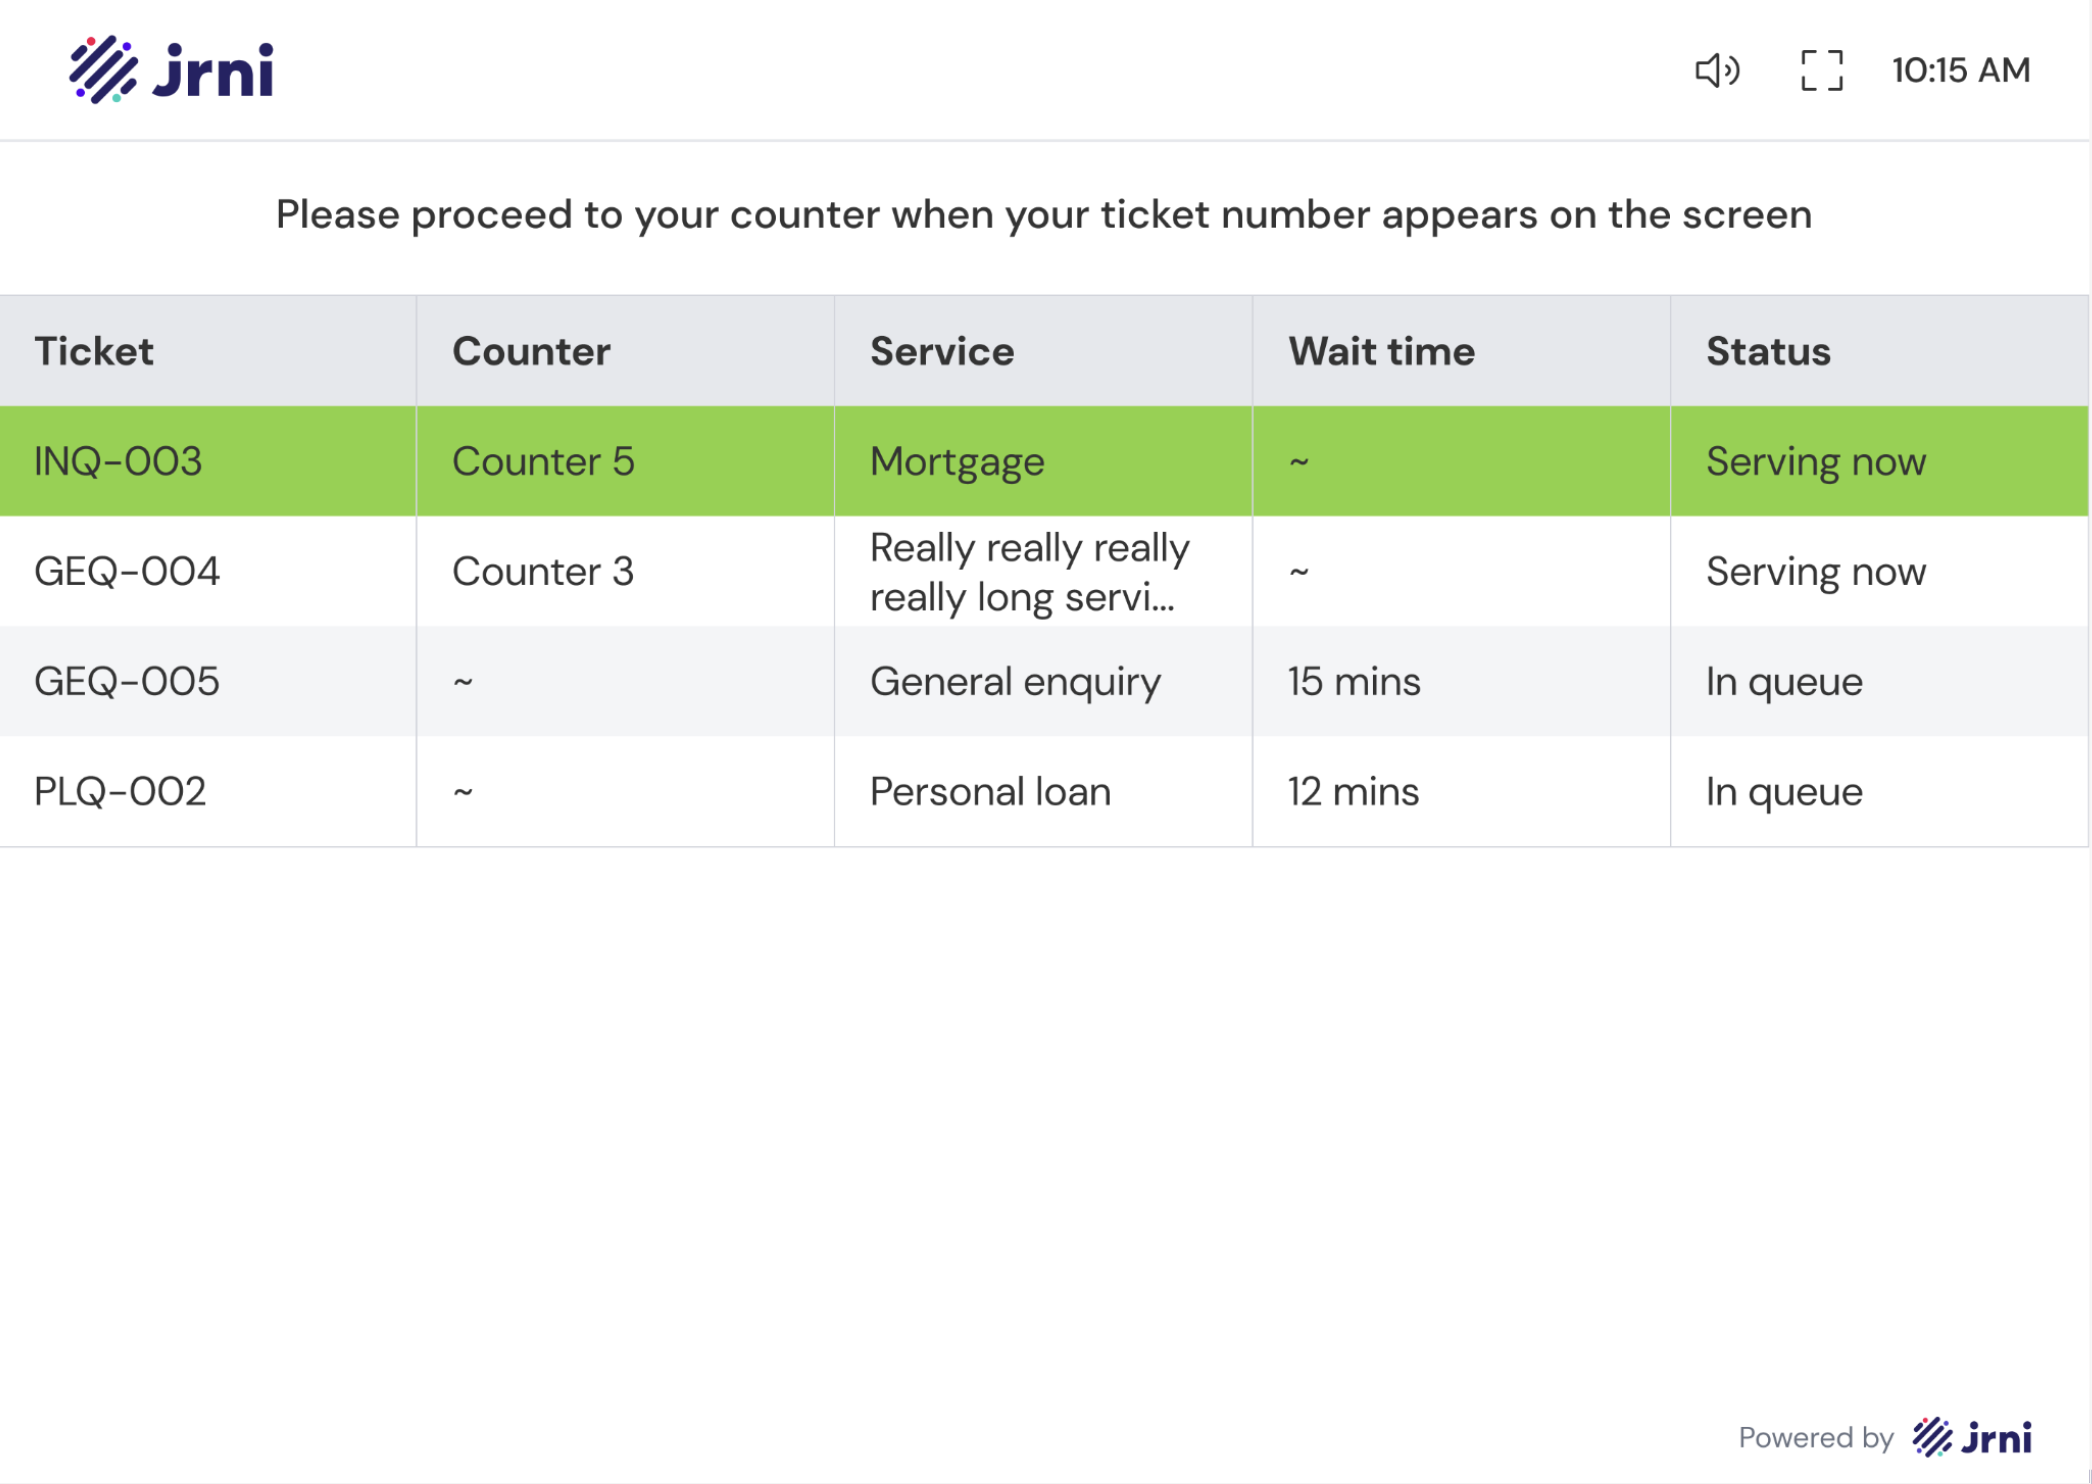
All customers being served will be at the top of the table, followed by ‘In queue’ customers. You can choose to hide ‘In queue’ customers. Optionally, a custom message can be shown above the table.
Related articles
Still have questions?
If you have any further questions about setting up and managing a display board, please contact our Support team, who will be happy to help.