Table of Contents
Creating staff members
Staff are the bookable professionals who go hand-in-hand with appointment bookings. Typically, on an appointment booking, there will be an attendee and a staff member.
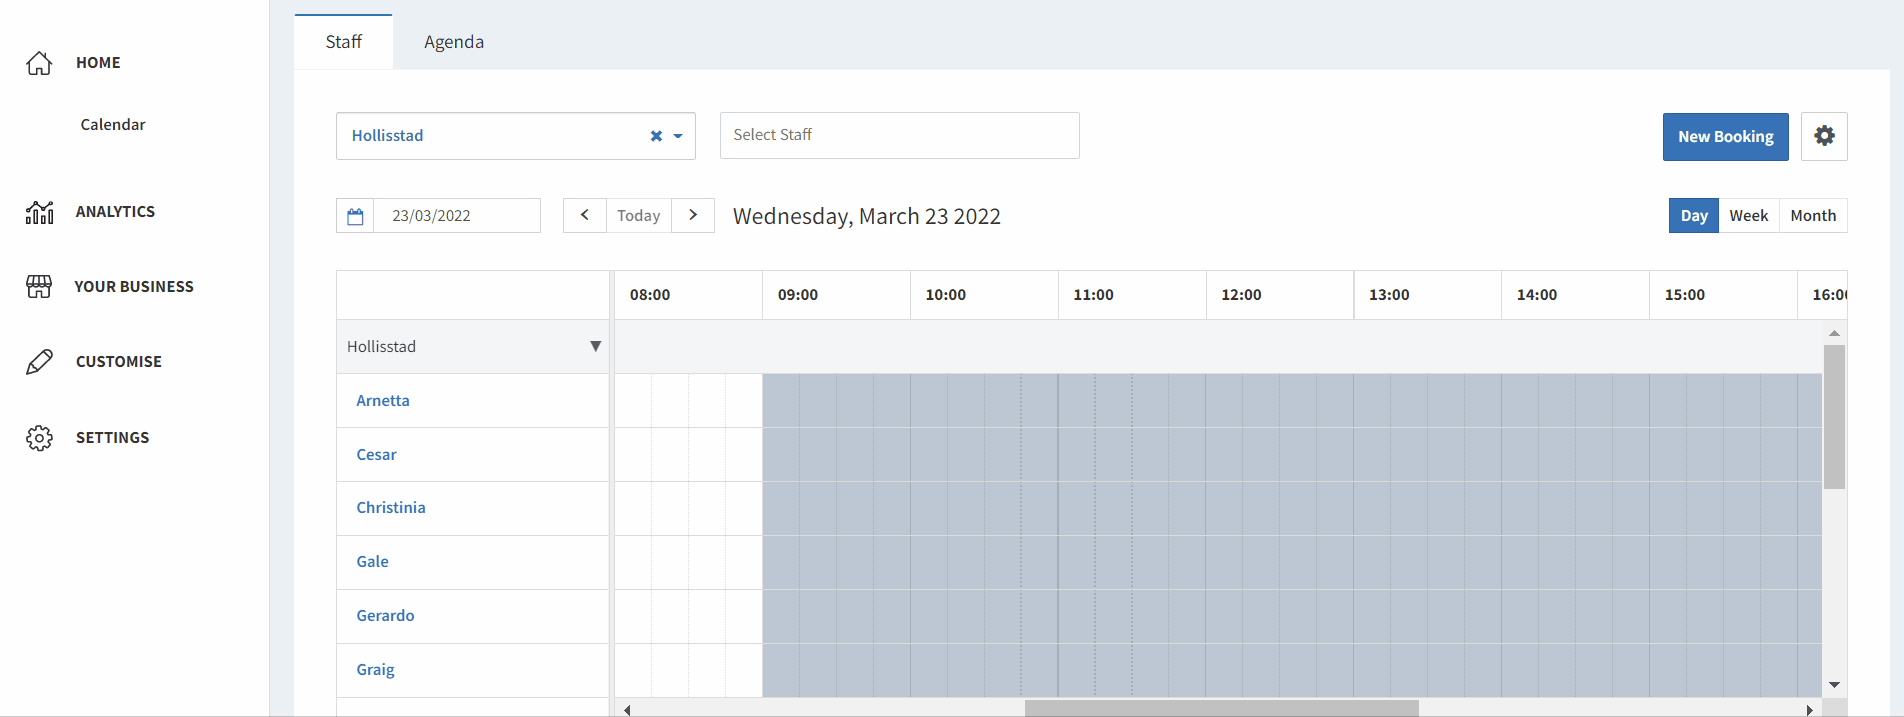
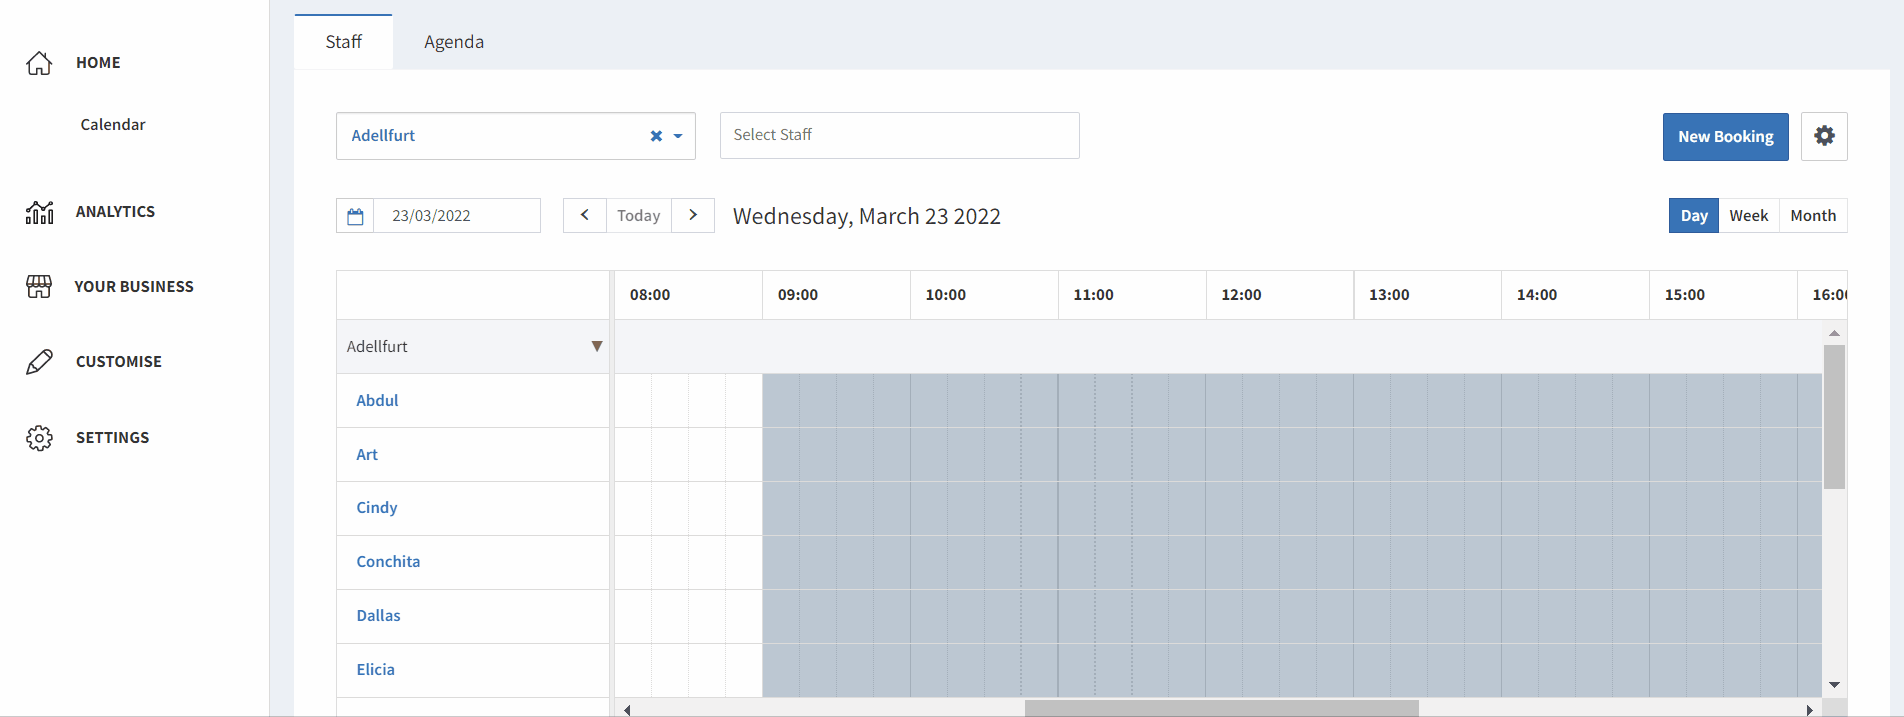
Staff members are added and managed via the Staff page, which you can access through the side menu, under Your Business.
Staff at Parent and Child levels
Staff members can be added at any level in your company hierarchy, such as: Parent (HQ) and Child (location/branch) level. Before you create new staff, you should consider your company hierarchy and where you wish the staff member to be bookable.
It's recommended that staff are created at the Parent level, so that there is the option to have them cascade down and be assigned to any/all Child level locations. Staff added at the Child level will only be added to that specific location (and cannot be re-assigned to the Parent, unless removed and re-added).
Creating Staff at Parent level
If you would like a staff member to be bookable across multiple, or all, companies/locations, the best place to create them is at the Parent level:

- Log into your account at the Parent level.
- From the left-hand menu, click Your Business > Staff.
- Click the Create new staff button.
- On the staff creation form, enter the staff member’s name and any other optional details:
- Name: name of staff member
- Disabled: use this to disable the staff member. They can be re-enabled at any time
- Description: an optional (internal) description about the staff member
- Phone: prefix and phone number of the staff member
- Email: an email address for the staff member, where they will receive booking notifications
- Never Mark as Booked: tick this and the staff member will always appear as available. This option is useful if your staff member can provide multiple services/appointments for a customer at the same time
- Calendar Overlay Link: can link to an external calendar if integrated with external provider
- Queuing disabled: tick this to disable the staff member from appearing available for any queues set up
- Companies: displays the IDs of each company/location. Tick the ones you wish to assign the staff member to
- Click the Save button.
Your new staff member will now be saved and appear in the staff list after you refresh the page. From here, you can click on the new staff member’s name to open their full staff profile, enabling you to manage their details, view their bookings and create their schedule.
Assigning Staff to multiple locations at Parent level
Staff added at Parent level can cascade down and be added to all Child level locations, or assigned to a selection. Assigning staff can be done during staff creation, by selecting company/location IDs, or by using the Locations button as per the steps below:
- From the Staff page, click the Locations button next to a staff member.
- Tick the locations you wish to assign the staff member to, or un-tick to disable them.
- Click OK to update selection.
Multi-location Staff calendar
Staff members who are assigned across multiple locations will see all their bookings in their calendars when they access Studio. This allows them to have a consolidated view over all of their upcoming bookings, regardless of the location they are logged in to.
Creating Staff at Child level
If you would like to create a staff member who will only be bookable at a single location only, they can be created at the Child level:
- Log into the specific location you wish to add the staff member.
- From the left-hand menu, click Your Business > Staff.
- Click the Create new staff button.
- On the staff creation form, enter the staff member’s name and any other optional details:
- Name: name of staff member
- Disabled: use this to disable the staff member. They can be re-enabled at any time
- Description: an optional (internal) description about the staff member
- Phone: prefix and phone number of the staff member
- Email: an email address for the staff member, where they will receive booking notifications
- Never Mark as Booked: tick this and the staff member will always appear as available. This option is useful if your staff member can provide multiple services/appointments for a customer at the same time
- Group: assign the staff member to any pre-made staff group
- Calendar Overlay Link: can link to an external calendar if integrated with external provider
- Queuing disabled: tick this to disable the staff member from appearing available for any queues set up
- Click the Save button.
Your new staff member will now be saved and appear in the staff list after you refresh the page. From here, you can click on the new staff member’s name to open their full staff profile, enabling you to manage their details, view their bookings, and create their schedule.
How are groups created?
This feature allows you to group staff, which can be useful if there are different teams working at one branch/location. Groups can be selected on the calendar, which will then change the calendar view to show the staff members who are assigned to that group.
To create groups follow these steps:
- Login to Studio and to a child location.
- Navigate to Your Business > Staff.
- Select the Groups tab and Create New.
- Name: Give your group a relevant name (e.g., Executive Team)
- Description: Describe the group so that you know which members of staff to put into that group.
- Select Create and navigate back to the Staff tab.
- Create a new member or select an existing member of staff by selecting Details on the right hand side.
- Select Edit and then find the Group field where you can use the dropdown menu to assign the staff member to a group.
- Select Save.
Staff mapping for Exchange
If you are using the Microsoft Exchange integration staff can be synced to their desired Exchange email, using object mapping. You may have have this in place already for existing staff and are looking to add new staff, or you may be looking to map staff and Exchange for the first time. Either way, when creating new staff in JRNI Studio, the additional step of mapping will need to be done manually for each staff member.
FAQs and Troubleshooting
Can a staff member log into JRNI to manage their own appointments?
Absolutely! User access and permissions can be created for any staff from your organization, so that they can manage and deliver their own experiences. Visit our guide on Creating and Managing user access to set up login credentials for a staff member.
Is it possible to re-assign a staff member created at a Child location to the Parent level instead?
Once a staff member has already been created at a Child level, it’s not possible to re-assign them to the Parent. In this case, the best option would be to delete the staff member from the Child location and re-create them at the Parent level. From there, you can assign the staff member to one or more Child locations where they are bookable.
Related articles
Still have questions?
If you have any questions about creating staff members, please contact JRNI Customer Support, who will be happy to help.