Table of Contents
Setting up a virtual queue
 Updated
by JRNI
Updated
by JRNI
JRNI Virtual Queuing enables your company and its staff to efficiently manage queuer lines and wait times. This article walks through the process of setting up a new queue, and assigning staff and services to it.
There are three key capabilities available that go hand-in-hand for the full virtual queuing experience:
- Queues: this is where queue set up and creation is done - covered in this article.
- Concierge: this is where staff can manage one or more live queues.
- Display Board: this is an optional, customer-facing visualization that can be set up to keep in-store queuers informed on the live queue status.
One or more queues can be set up for each individual company branch, by creating them at your Child level locations, as required. However, note that at least one queue must be set up before the Concierge page and Display Boards are available to be used.
Enabling staff and services for queuing
In order for staff and services to be made available for any queues, they will first need to have the following settings configured on the staff and service profiles, respectively. Once configured, these staff and services will appear for selection during queue creation.
Staff
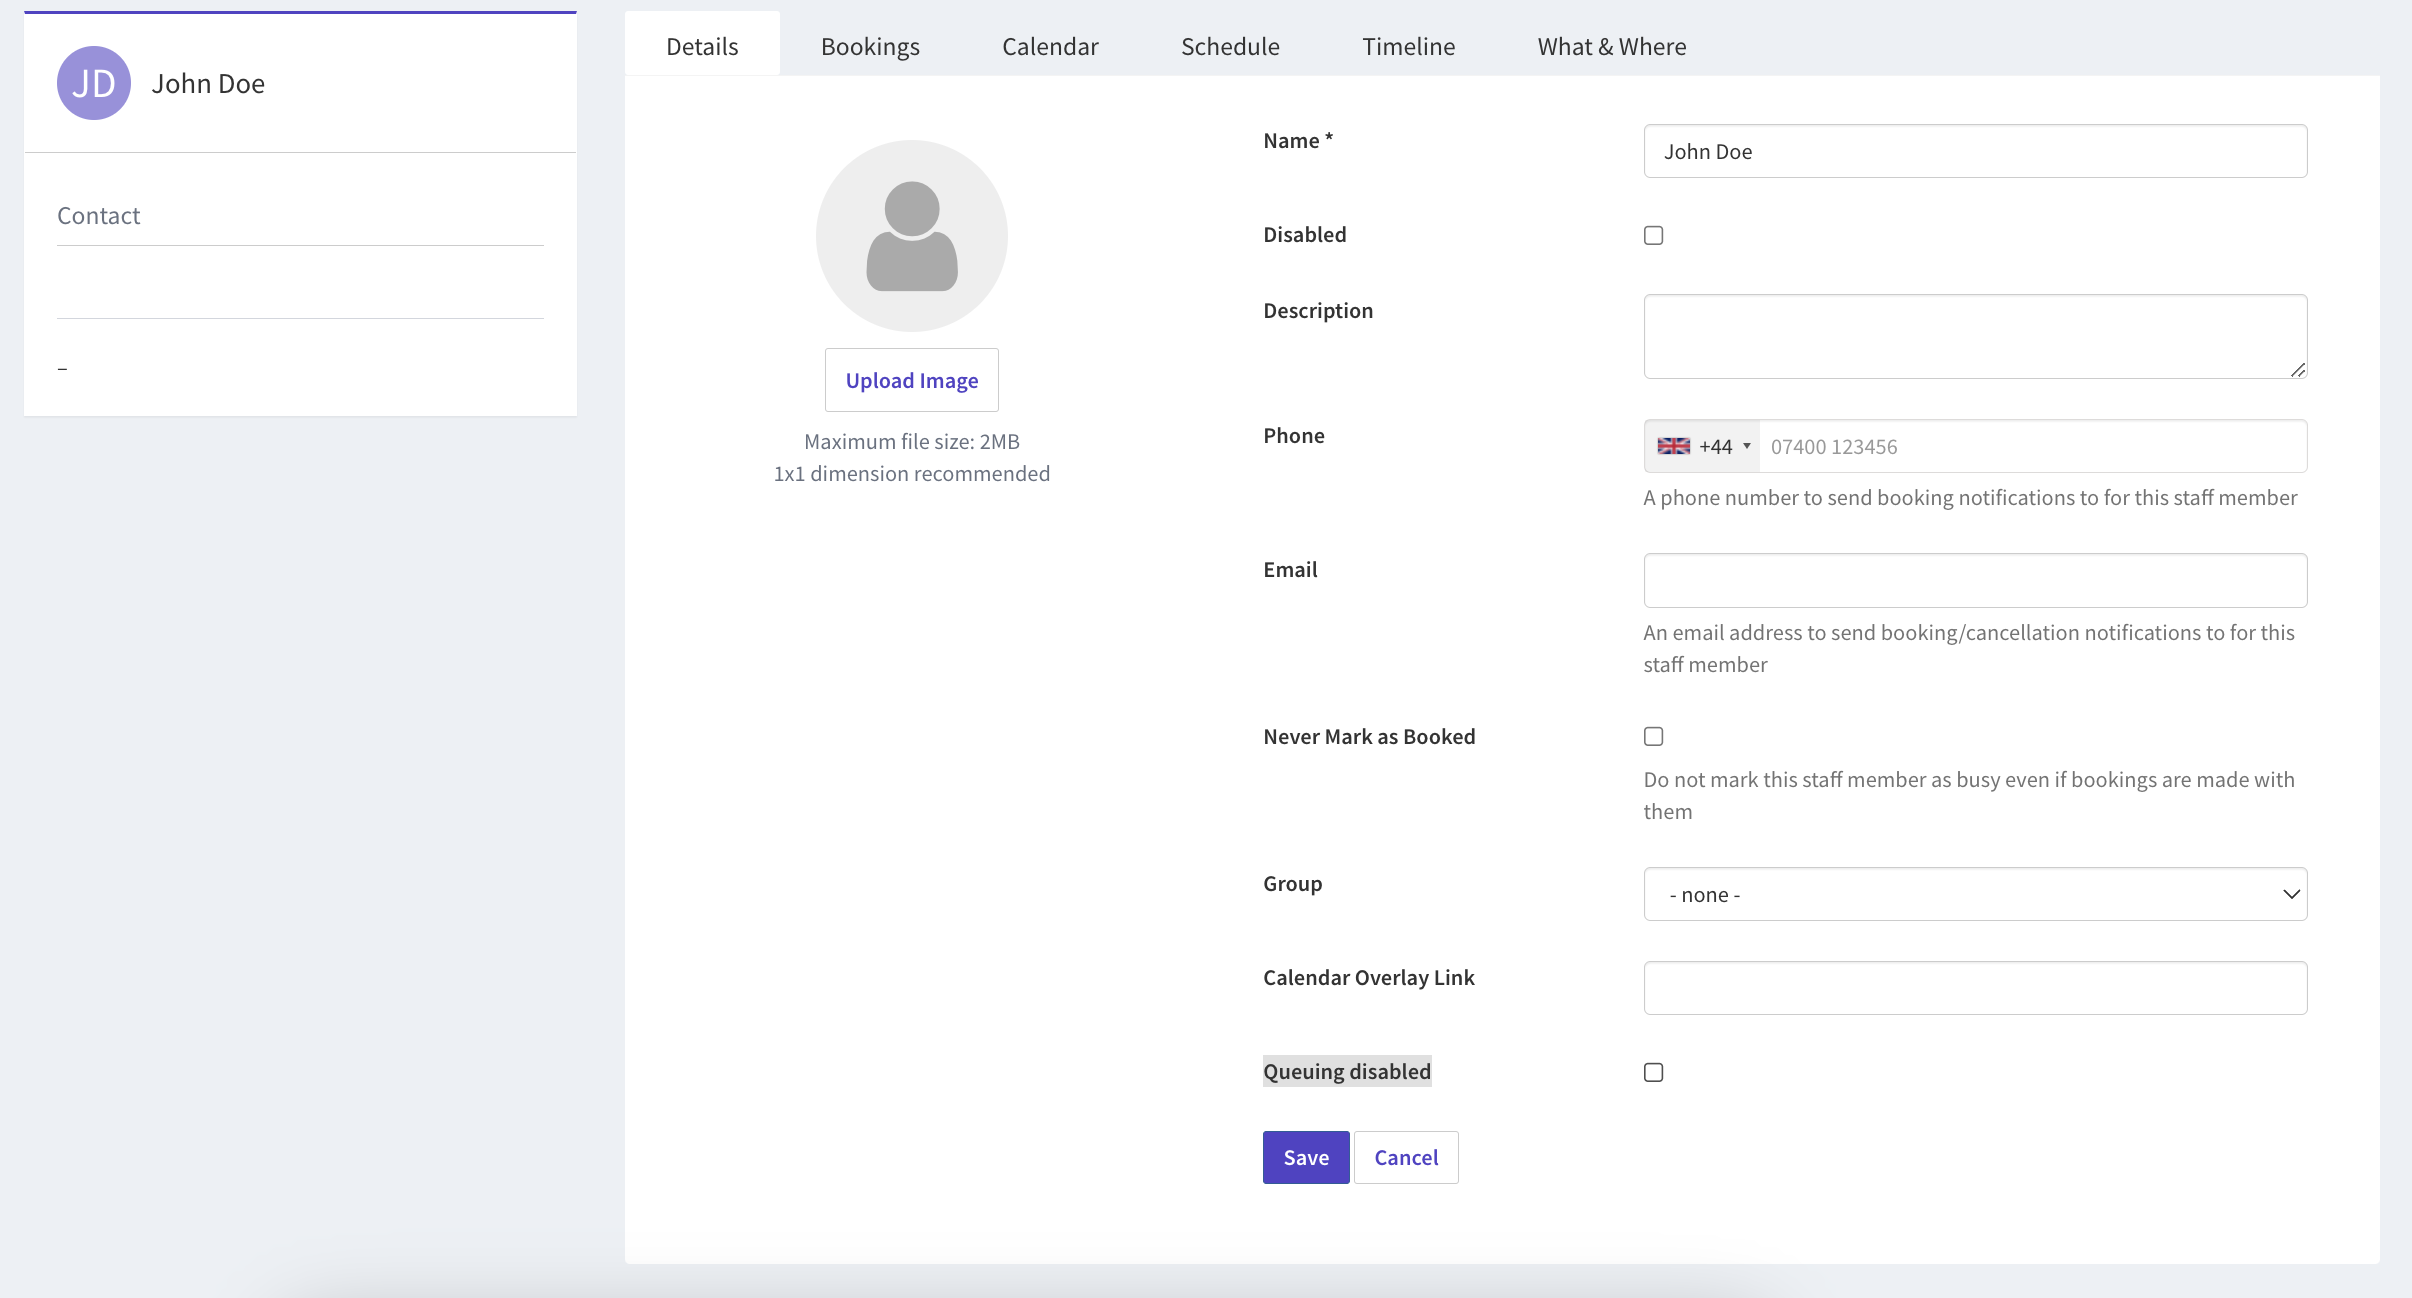
Ensure the Queuing Disabled option is unchecked in the individual staff settings. Only these staff members can be added to queues.
In Studio, on the left hand-menu navigate to Your Business > Staff > Select a staff member > Edit > Queuing disabled > Unchecked. Staff members with this setting applied will now appear as options during queue creation.
Services
Ensure the Queuing Disabled option is set to “no” in individual service settings. Only these services can be added to queues.
In Studio, on the left hand-menu navigate to Your Business > Services > Select a service > Edit > Queuing disabled > No. Note: you may need to be logged in at the Parent level to edit a service, depending on where it was originally created.
For services, you can also choose for the queue duration to be different from your usual service duration for appointment bookings. You will find this on the service profile, above the queuing option.
Creating a queue
Once your required staff and services have been enabled for queuing, you can now begin creating your new queue(s):
- Log into your JRNI account, at a Child level location.
- Select the Your Business > Queues from the left-hand menu.
- Select the Create New button from the top right.
- On the new queue form, complete the following:
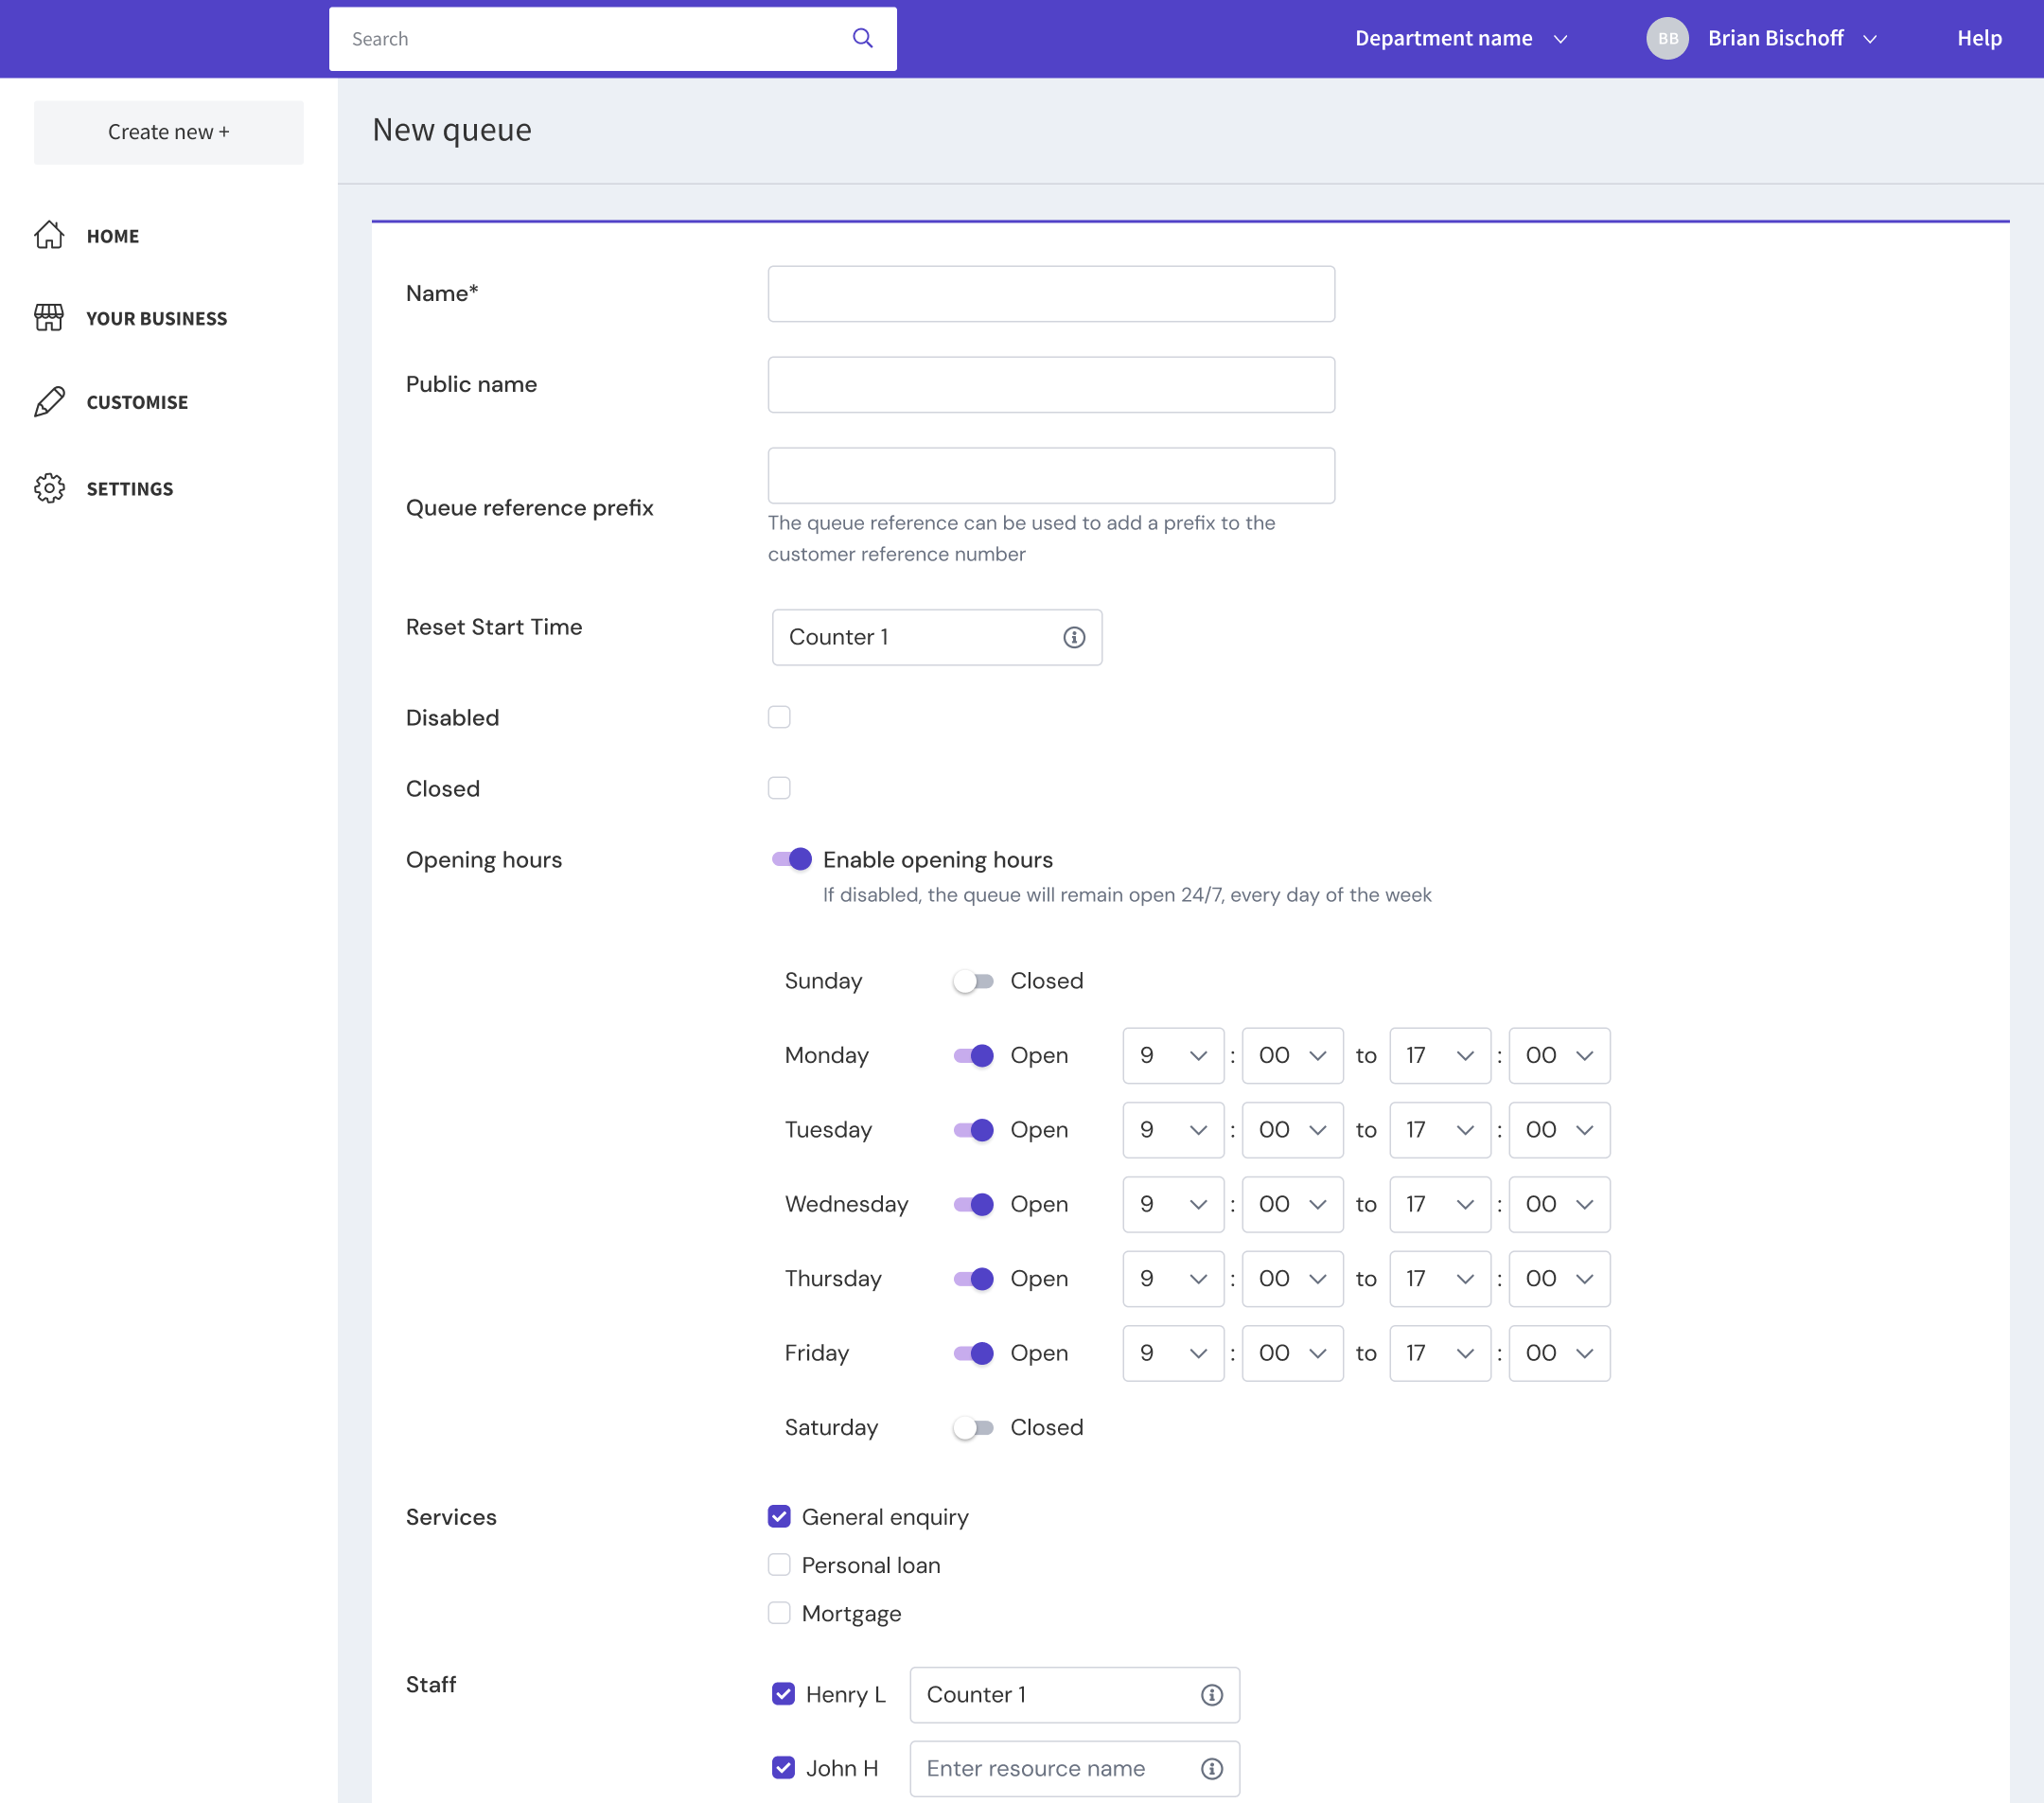
- Name: this can be an internal or external name for your queue
- Public name: this is the customer-facing name you would like to give your queue. Note, if left blank the above Name field
will display publicly instead. - Queue reference prefix: You can add a prefix to ticket numbers to better organize and identify tickets. Note: This option is only displayed when turned on in the queue settings under: Settings > Basic Settings > Queues > Enable prefix for ticket numbers > Switched on
- Reset start time: This is th start time of a new queue, or the time where the queue ticket number reset again and start of new. If there is no time specified here, we will reset the queue automatically at 12:00am
- Disabled: tick this to disable your queue from going live. When ticked the queue will not be visible in the Concierge and customers cannot add themselves to the queue. Untick to set your queue live. When dis
abled and enabled again, all queuers and staff in all statuses remain saved and do not get deleted or cancelled etc. - Close: If you need to temporarily close your queue to stop more people joining, you can (instead of fully disabling) close the queue. This only blocks new queuers joining the queue, but the queue is still visible and manageable in the Concierge. (Note: For fewer clicks a queue can also be closed directly from the Concierge)
- Opening hours: By default the queue is open and joinable at any time, if you wish to restrict the times a customer or staff is able to join a queue you can specify the opening hours of the queue in this section
- Services: select at least one or more services that can be delivered from this queue. Note, once a service has already been assigned to a queue, it won’t be possible to assign it to any other queues at the same time.
- Staff: select at least one or more staff members who can serve the queue. Staff members can be added to multiple queues if necessary.
When a staff was selecte
d you can optionally add a Resource to the staff. In this context a resource means the physical work station/location that a staff will welcome the queuer at. This information can be displayed on the Display board when a customer is called to be served or can be part of the notifications send out to customers.
- Select Create to save your new queue. The queue will now be available to view and manage from the Concierge page, under the Home tab.
Updating, disabling, or deleting a queue
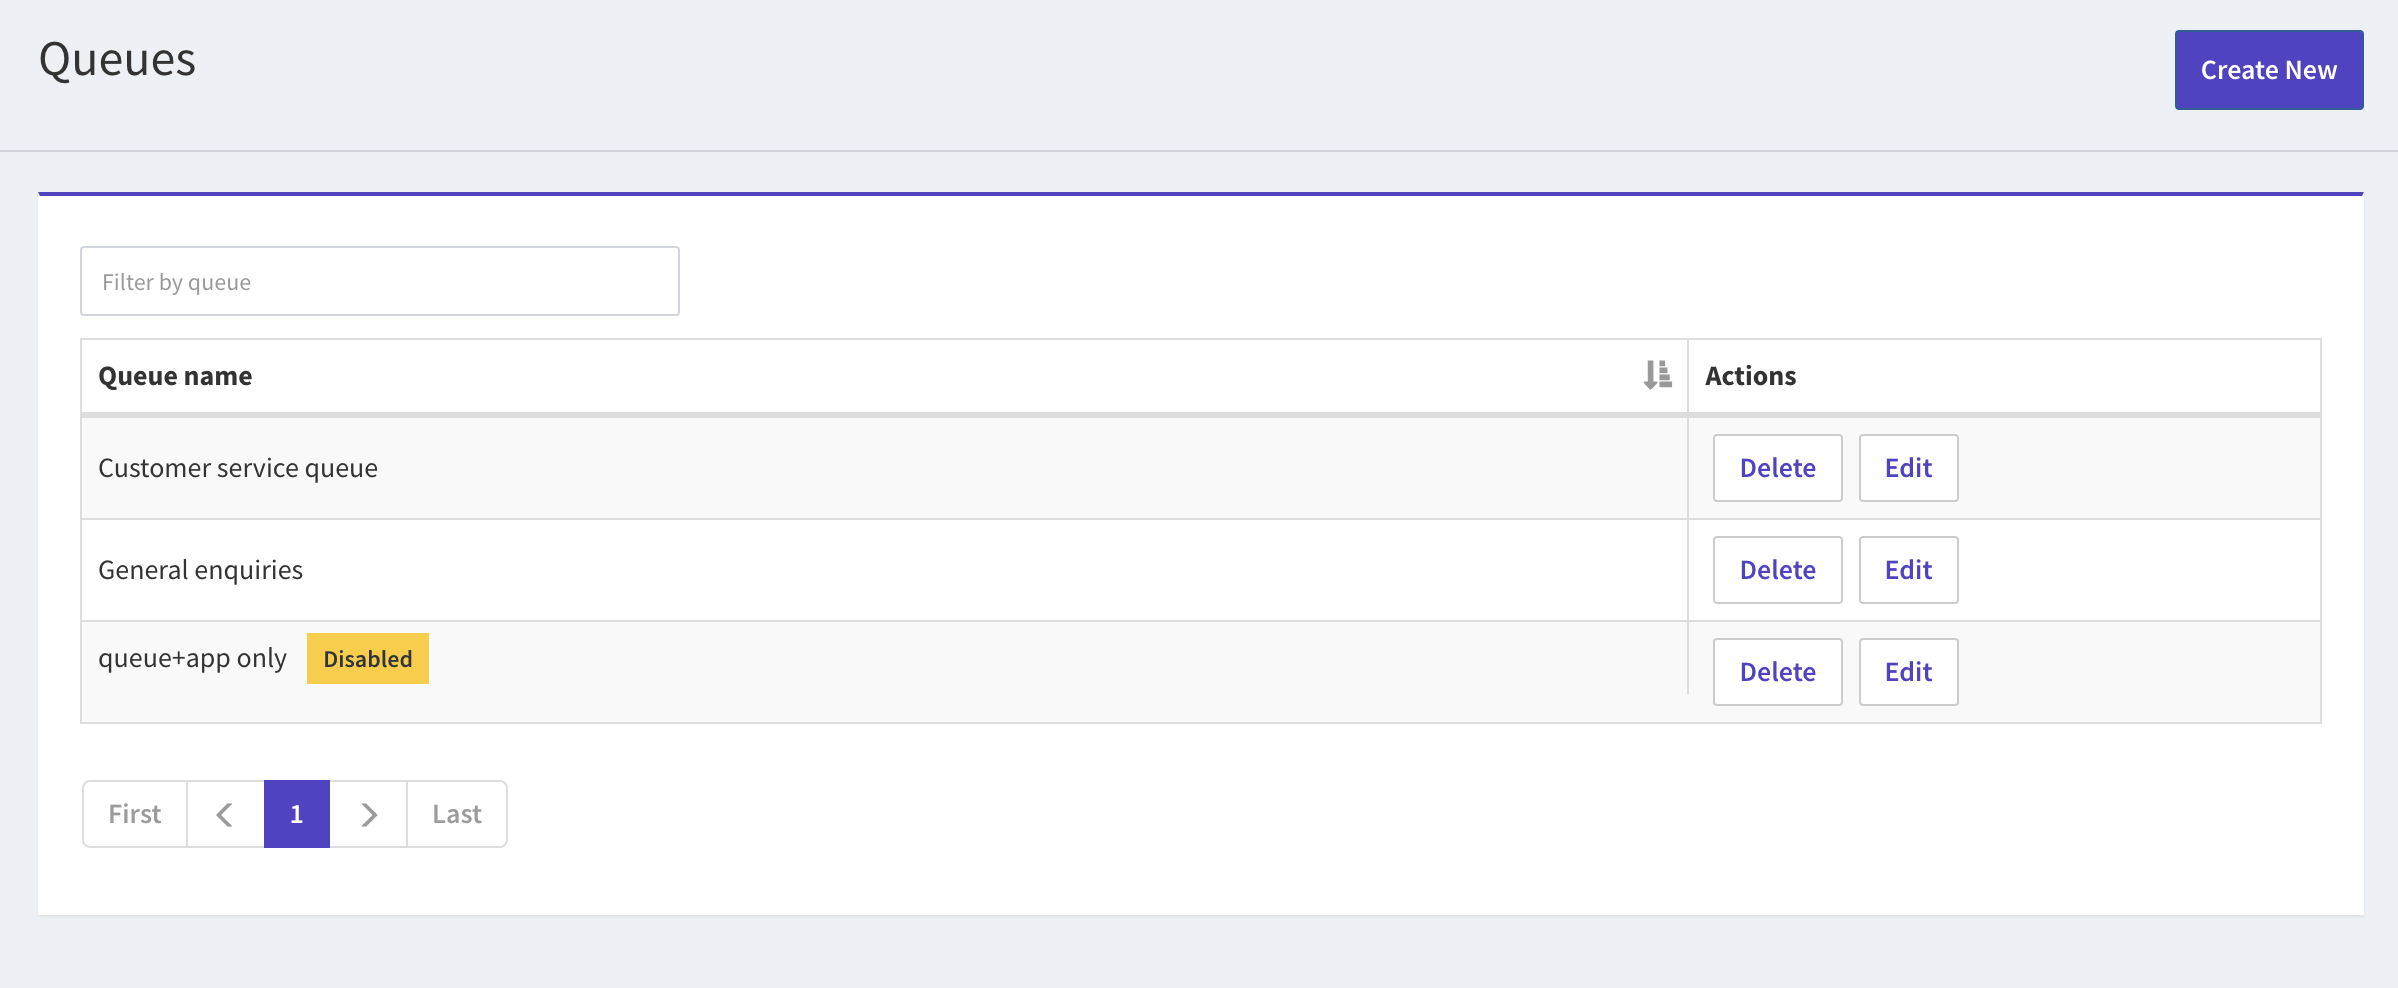
Navigate to the Queues page, via the Home > Your Business tab:
A) Select the Edit button to update the queue name, to enable/disable it, or to update which services or staff are available in the queue.
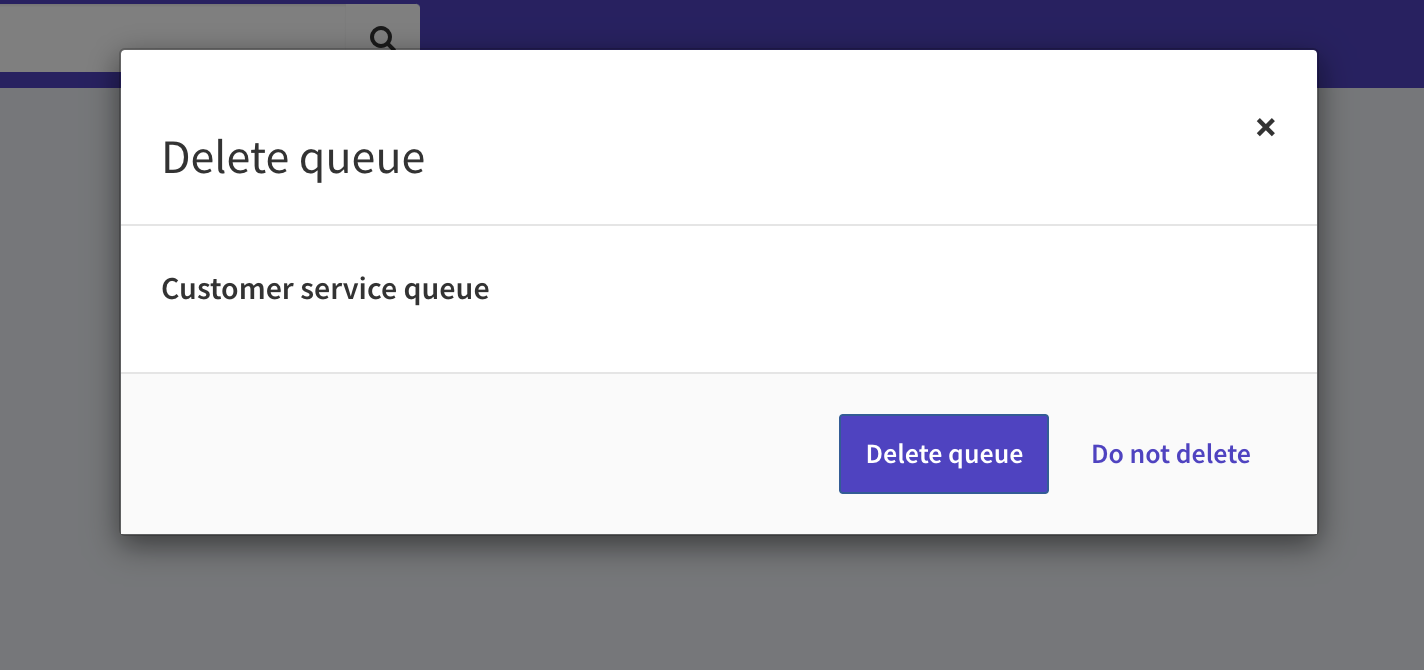
B) Select the Delete button to permanently delete a queue. After selecting Delete, you will be asked to confirm the action.
Disabling staff and/or services from queues
There are a couple of options for disabling staff and/or services from existing or future queues:
A) As per the steps above, navigate to a queue from the Home > Your Business > Queues tab. Select the Edit button and untick any staff or services that you wish to remove from the queue. This option is recommended if the staff member may wish to be enabled in the queue in future.
B) To disable any staff or services from being added to any queues whatsoever, follow the steps on enabling staff and services for queuing, but instead set the Queuing disabled option to Yes.
Queue settings
There are some settings related to a queue under Settings > Basic Settings > Queues
- You can add a prefix to ticket numbers to better organize and identify tickets
- You can select if the ticket-numbers given out should be sequential or random.
Related articles
- Overview of the Concierge page
- Managing live queues via the Concierge page
- Setting up and managing a display board
Still have questions?
If you have any further questions about creating a virtual queue, or enabling virtual queuing on your JRNI account, please contact our Support team, who will be happy to help.